Illustrations
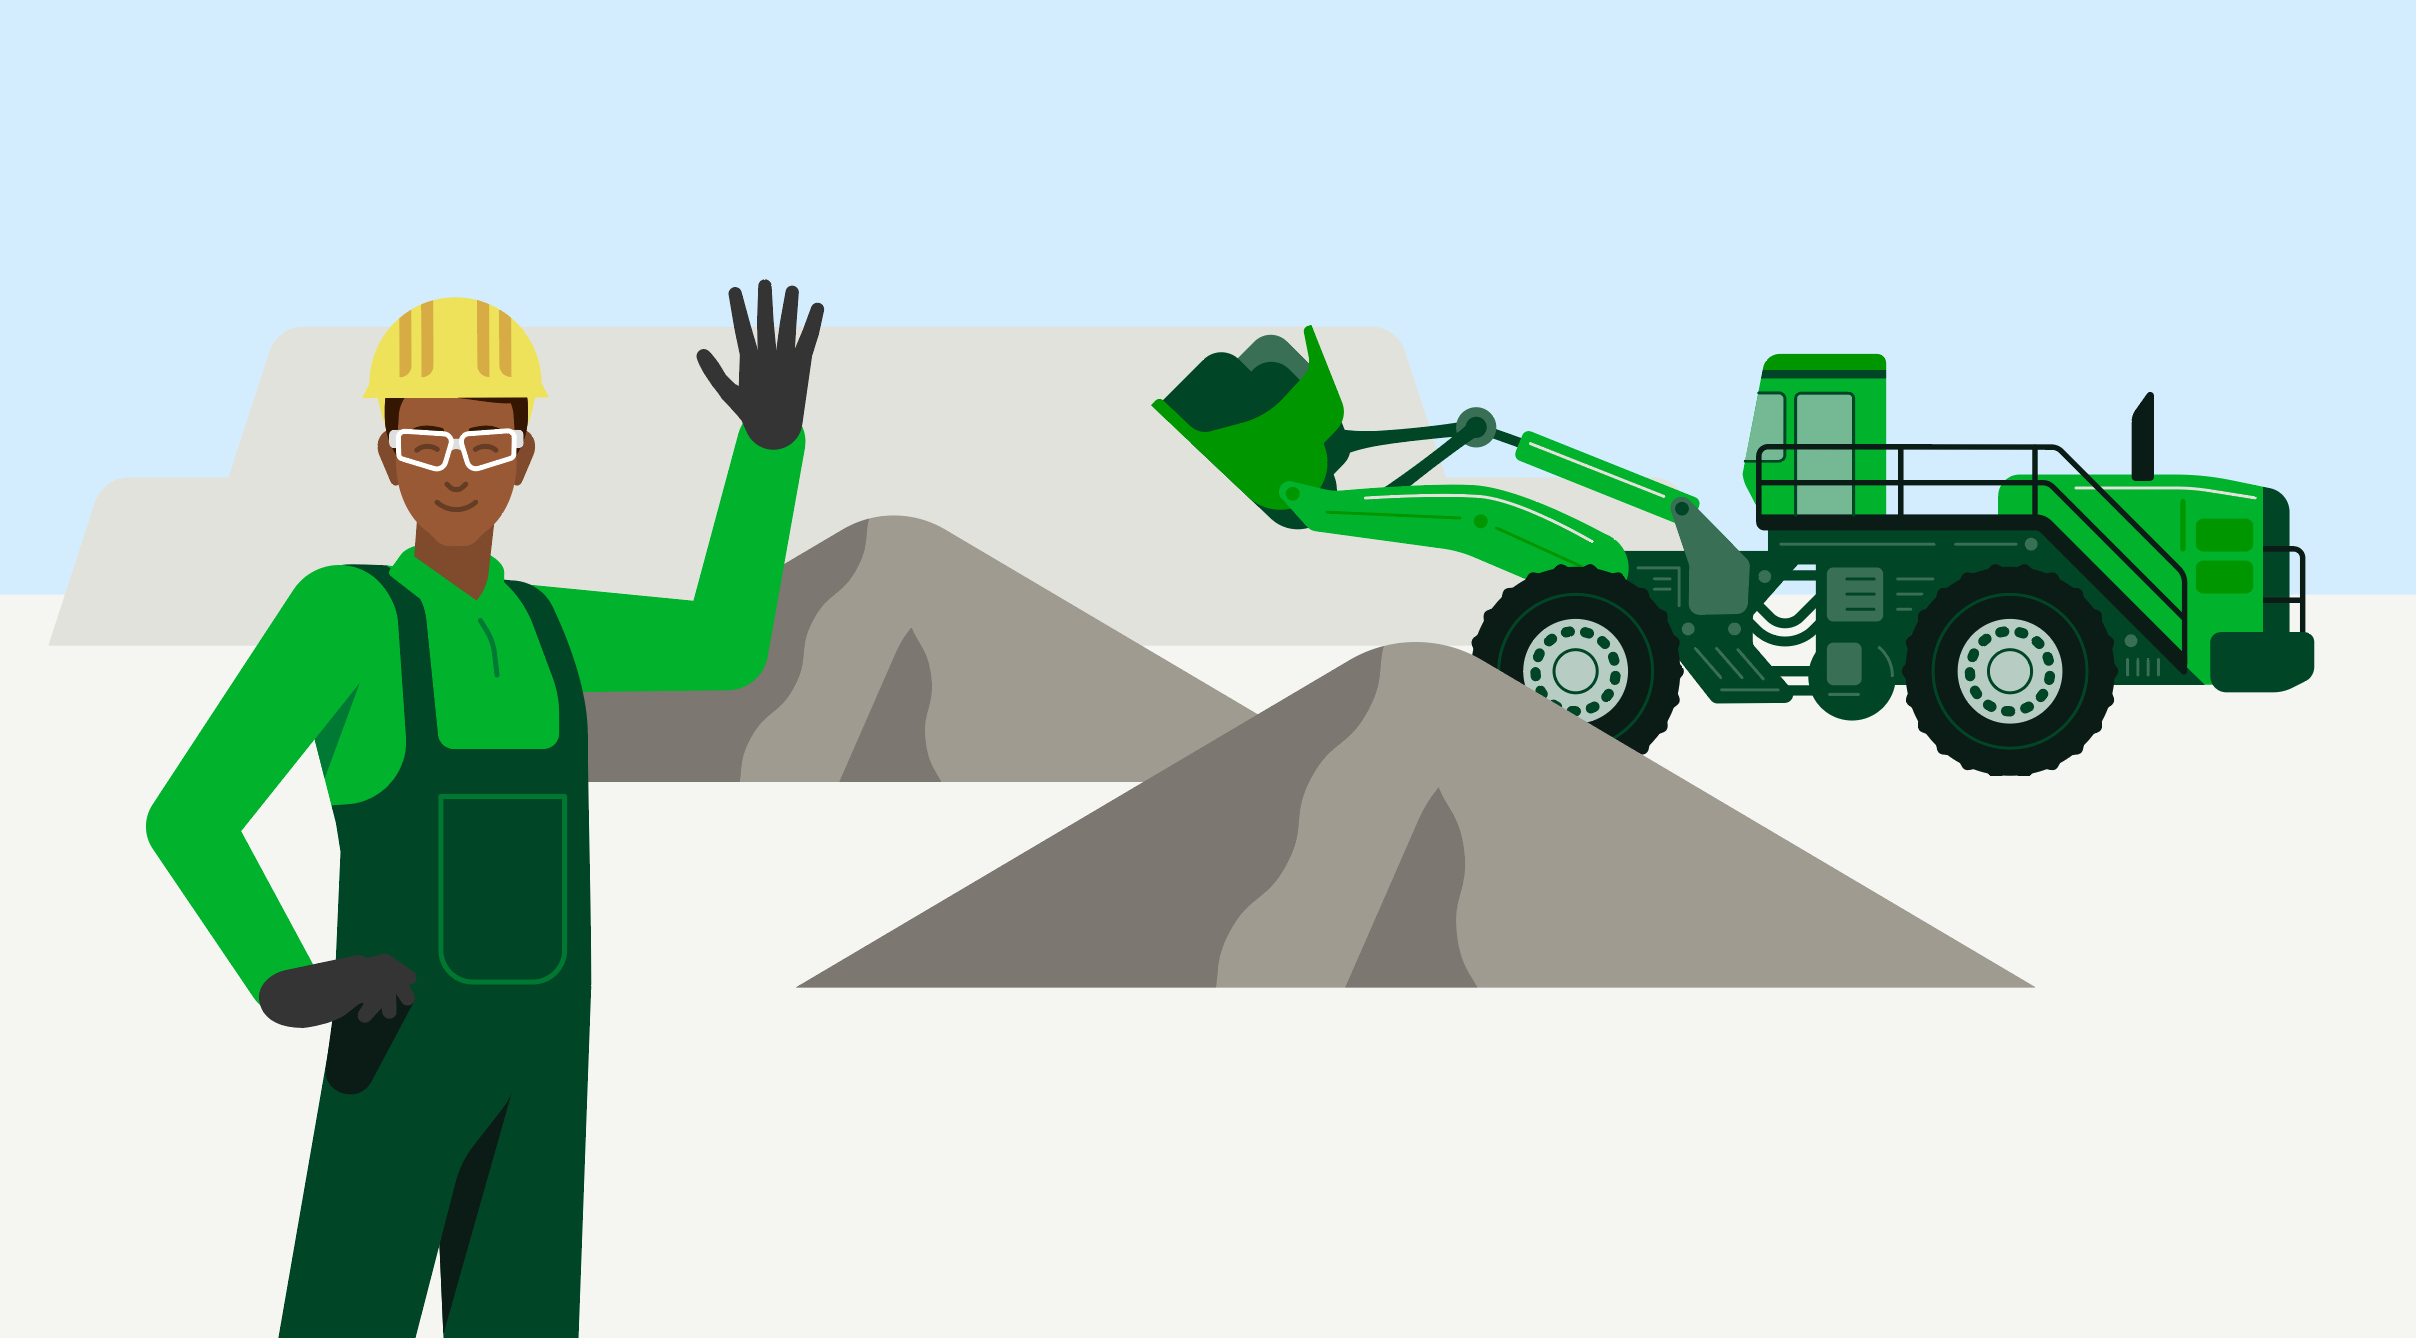

We use illustrations to ensure that our content is presented in a brand-appropriate manner. They can help us cover topics and address issues. Illustrations also play an important and varied role in our visual communication:
Visualisation of abstract issues and facts.
Emotionalisation and storytelling for a relatable and attention-grabbing appearance.
Differentiation from the competition through a distinctive, recognisable style.
Applications
Illustrations can be used in any medium. They are used wherever there is a need to get a point across quickly and effectively, or where complex issues must be illustrated.
Please note: Illustrations should be easy to understand and not too detailed. For more complex information, a simplified infographic may be more appropriate. See Illustrations in infographics and the Infographics chapter for more information.
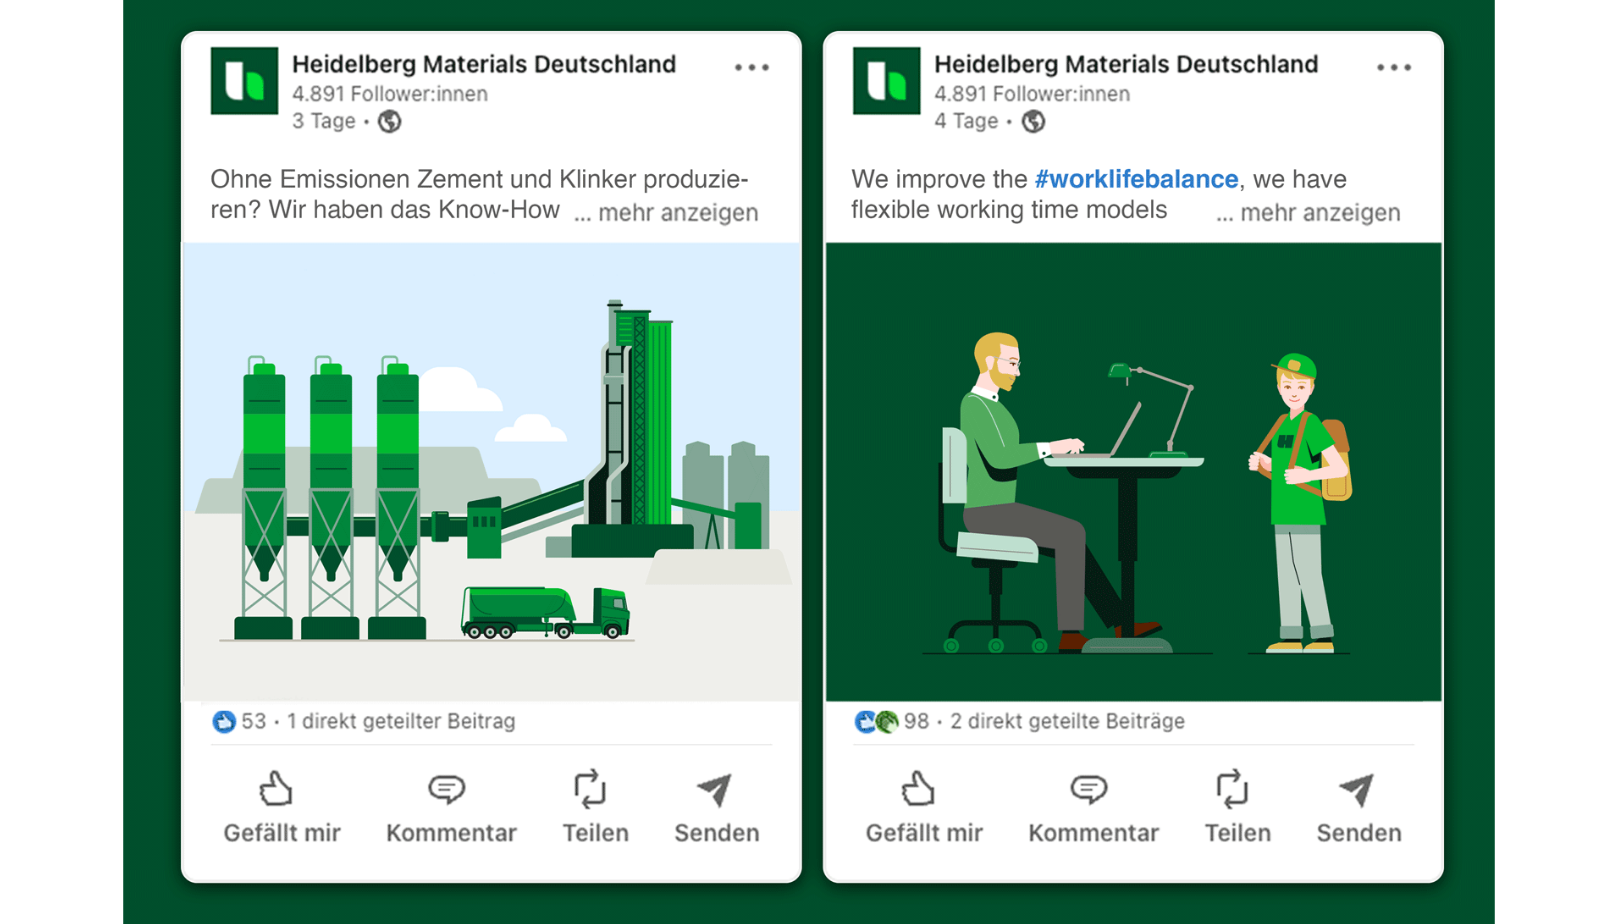

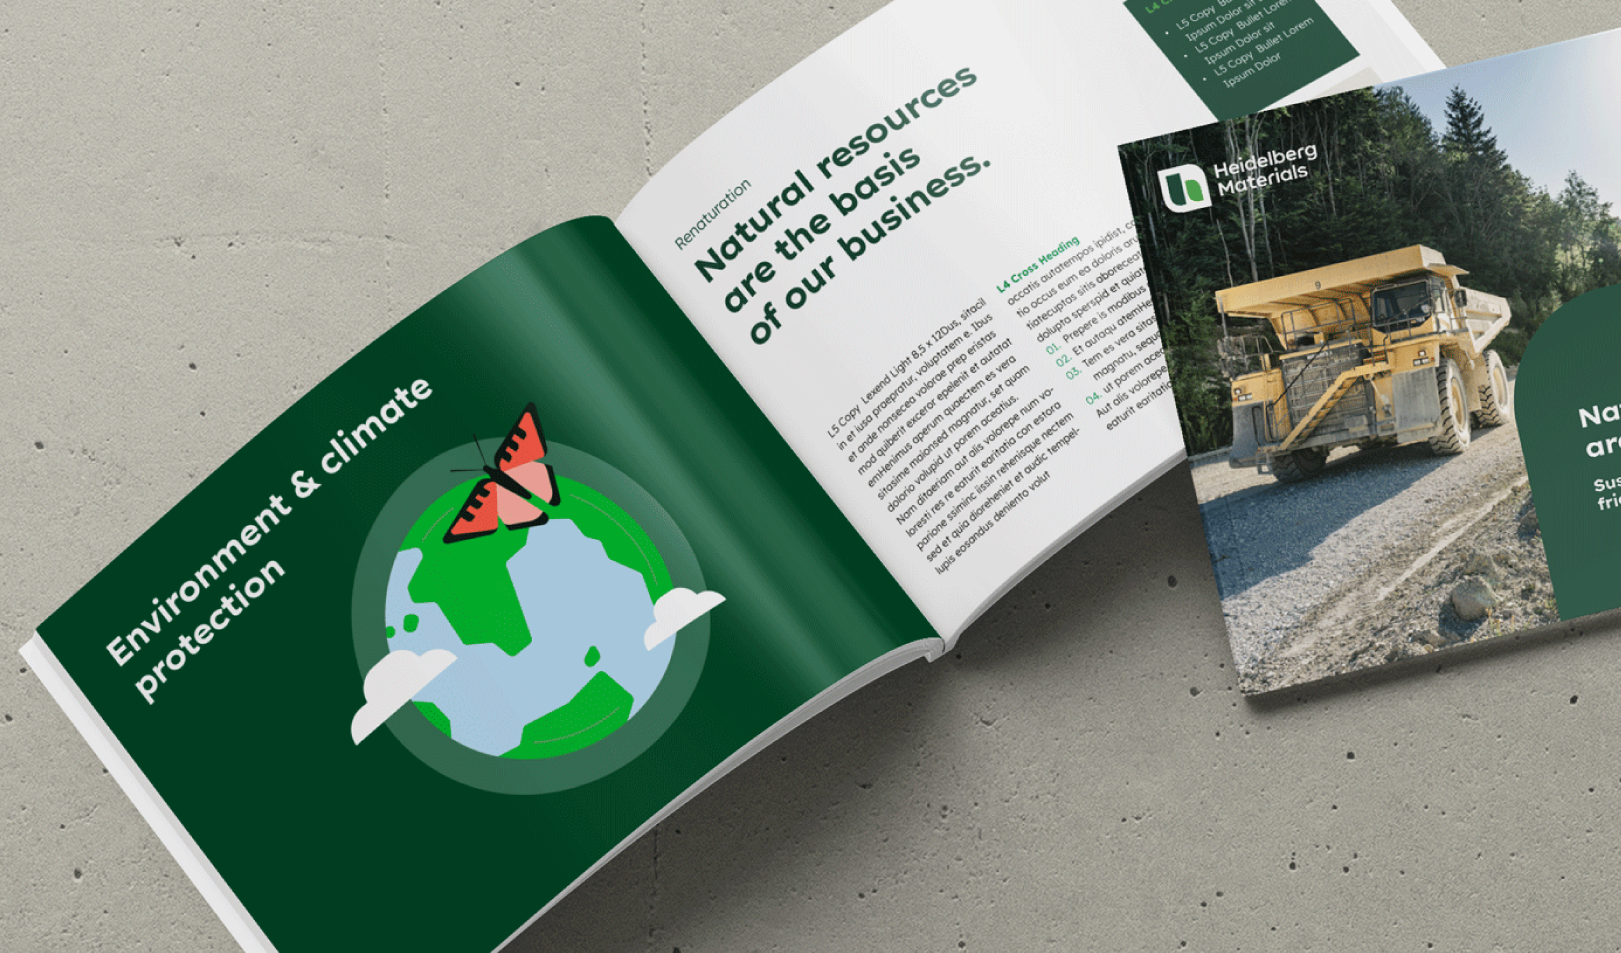

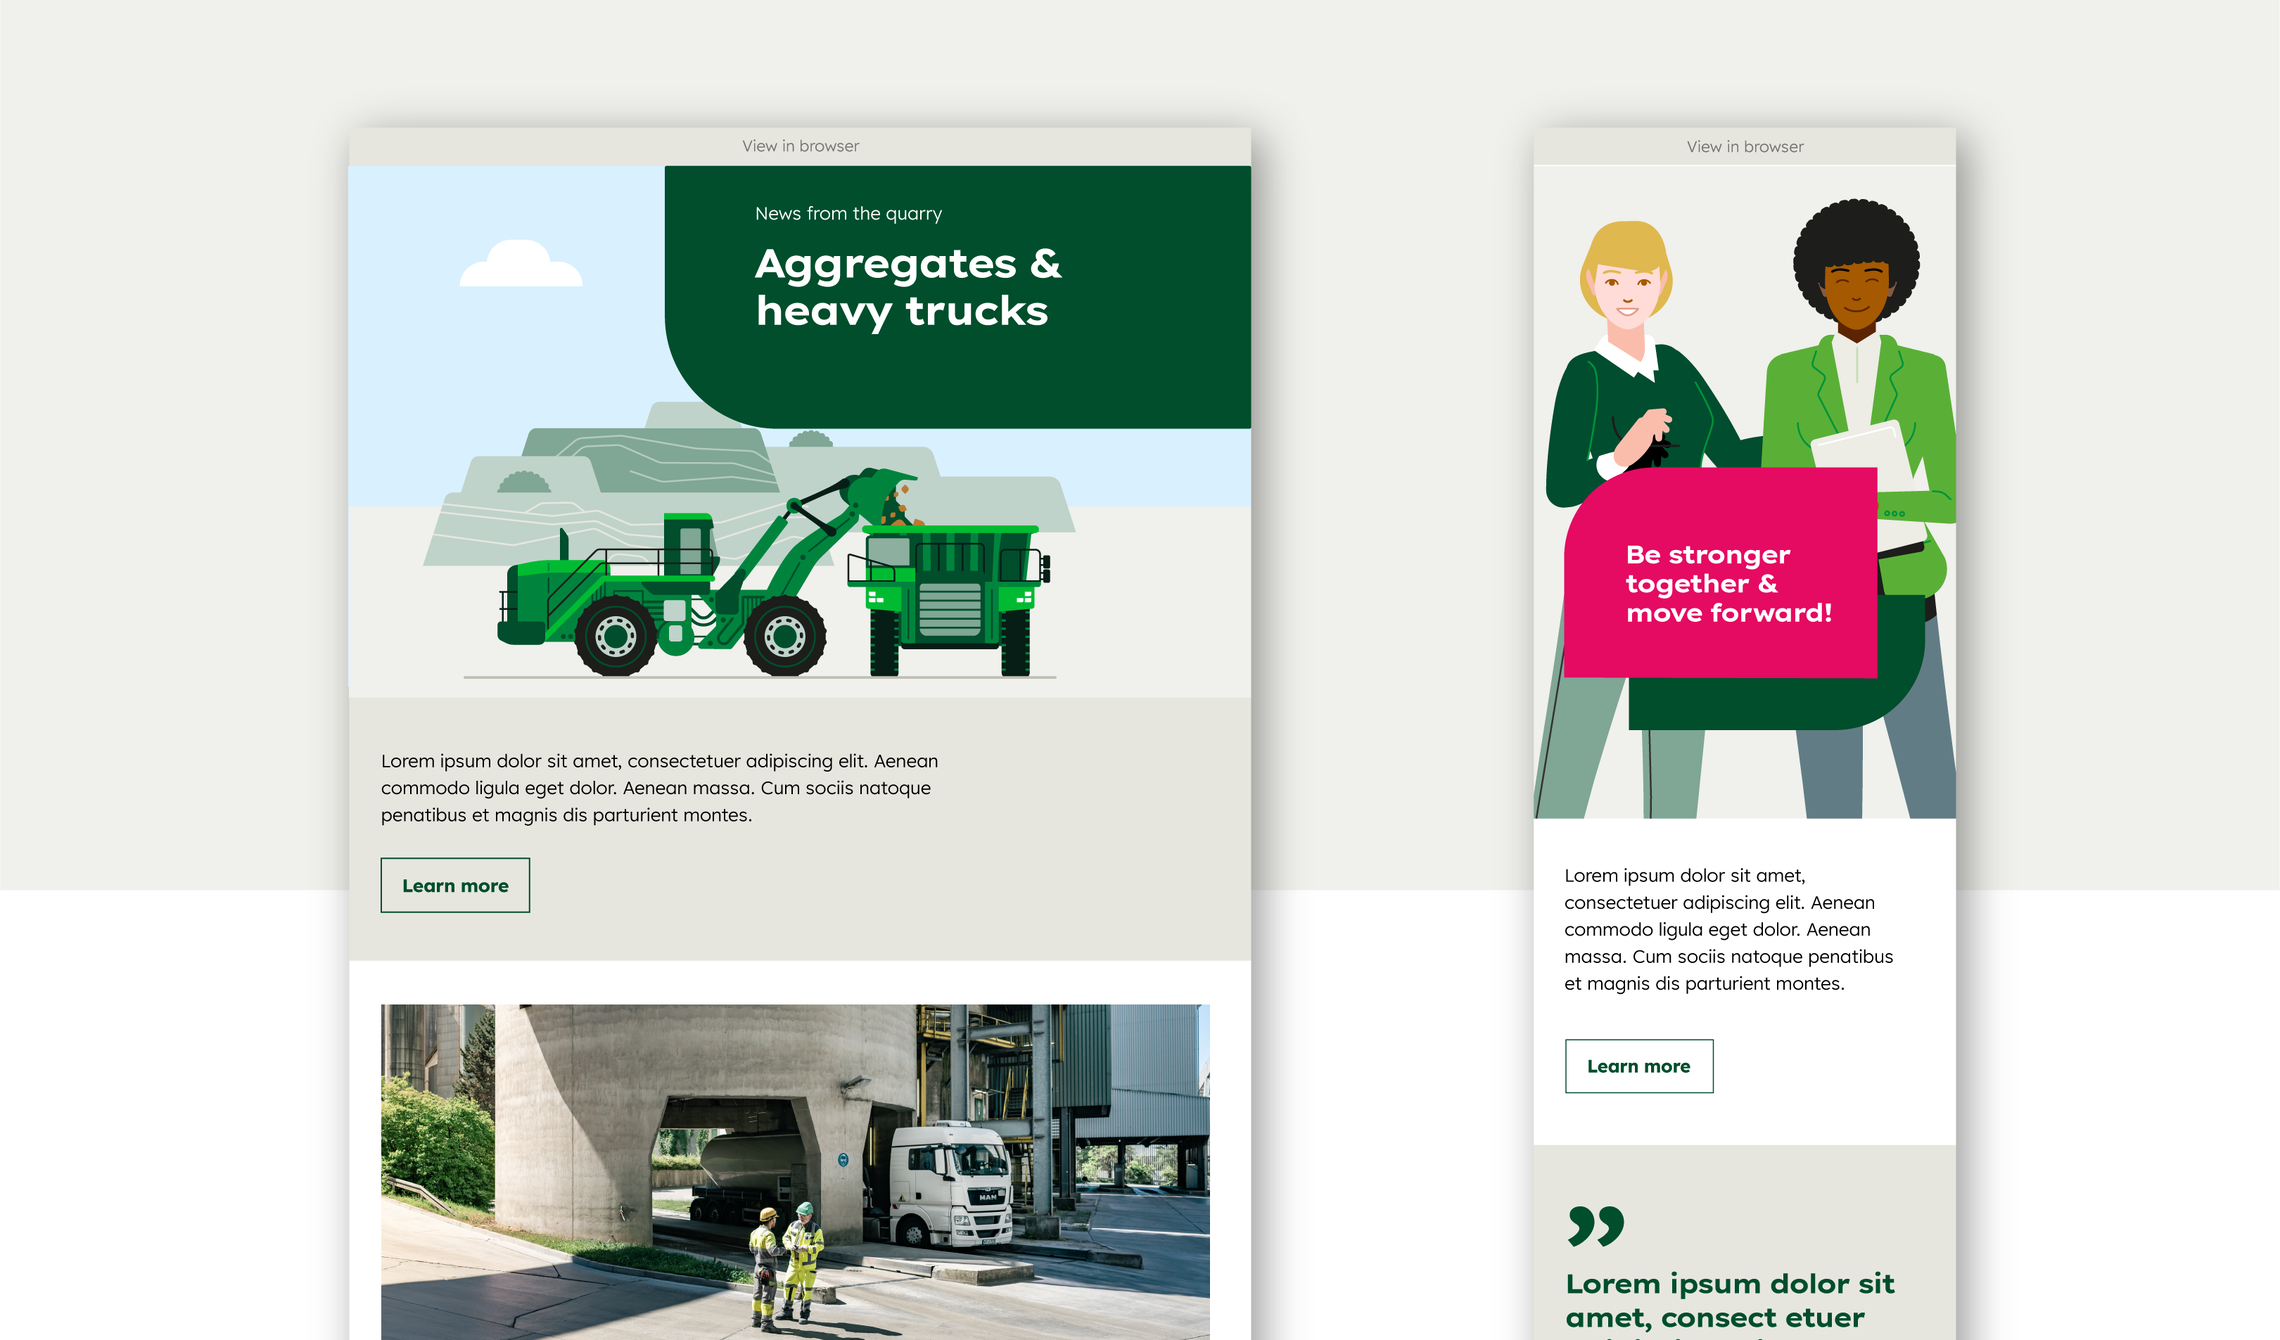

Style
Our illustrations are factual and based on reality, yet friendly, approachable and accessible. They are never humorous or exaggerated.
Particular attention should be paid to accurate and unambiguous representation, especially of technical systems and equipment, as well as safety-related topics.


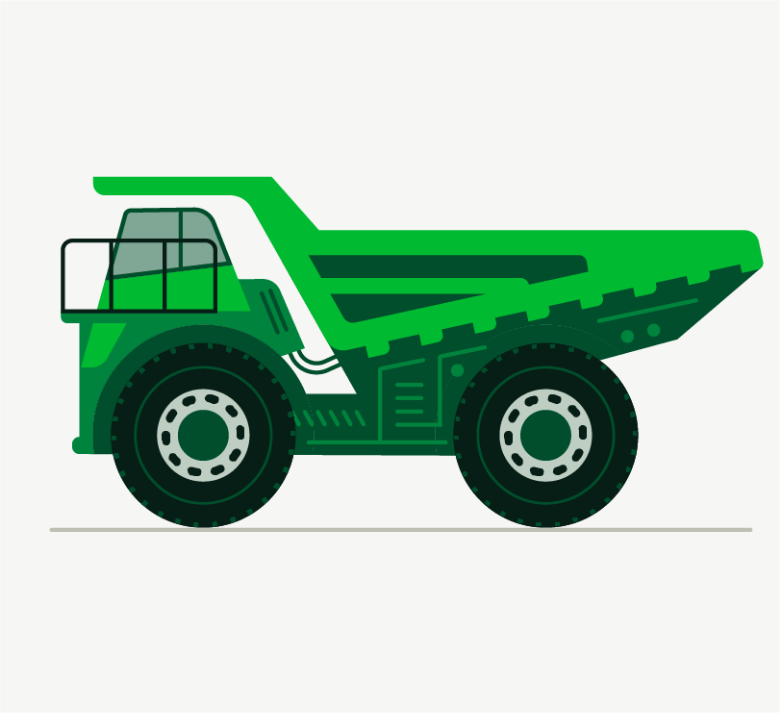

The main style parameters at a glance:


Green colour scheme: main colours are shades of green and Sandy Grey
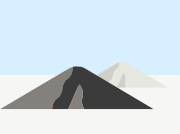

The motifs consist of coloured shapes: lines and contours are only accents
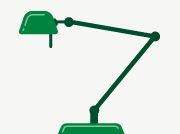

Geometric design language: straight lines, rounded corners and right angles create the motifs


Realistic proportions: within the motifs and their sizes relative to each other
Colours
The illustrations primarily use the corporate colours, with shades of green dominating the overall impression to give them a high recognition value in line with our brand. The colour palette is complemented by specific tones for skin, hair, nature and backgrounds.
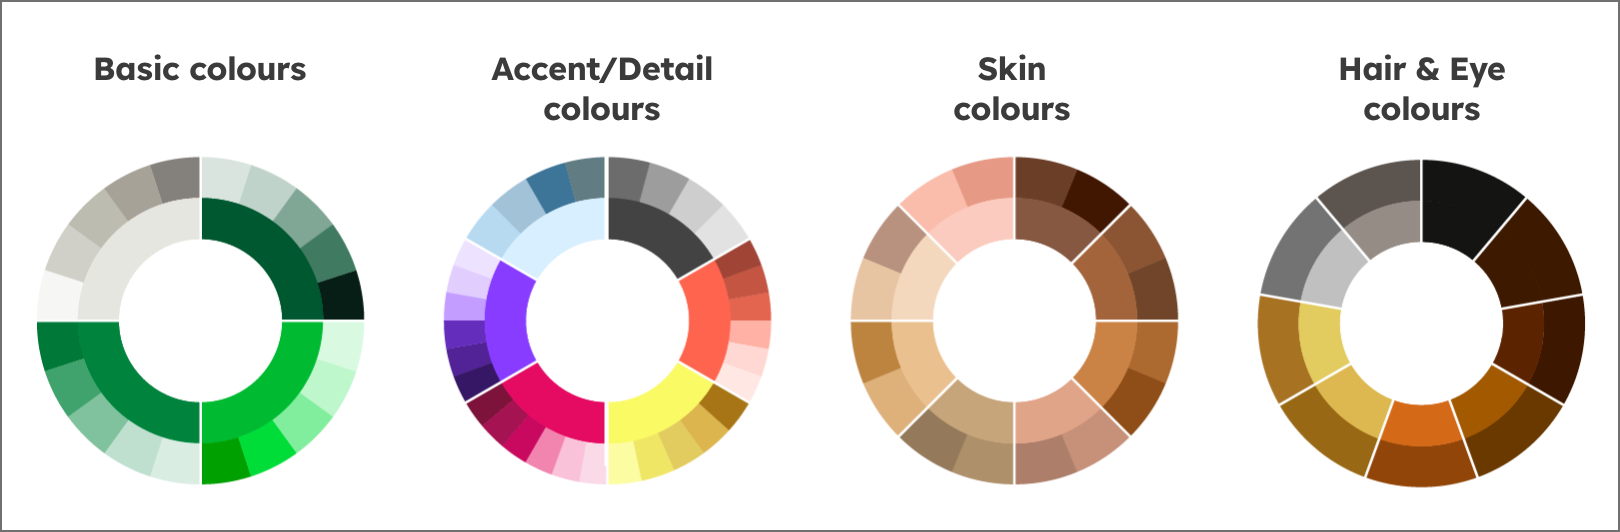

Certain applications may require a more realistic representation of colours, such as safety instructions or technical explanations. In these cases, shades of green can be replaced with the required colours.
Exemplary colour schemes
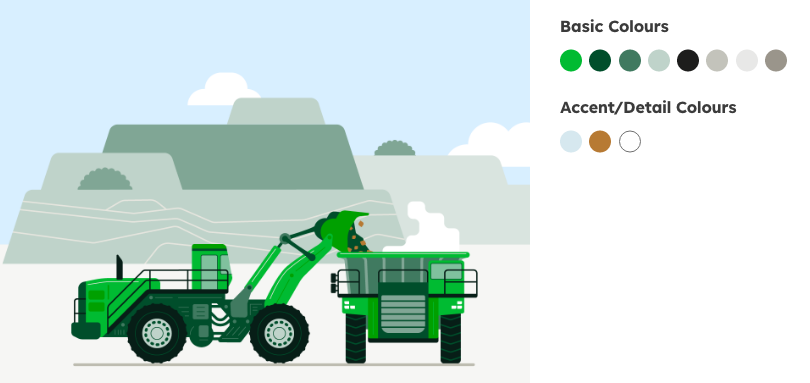

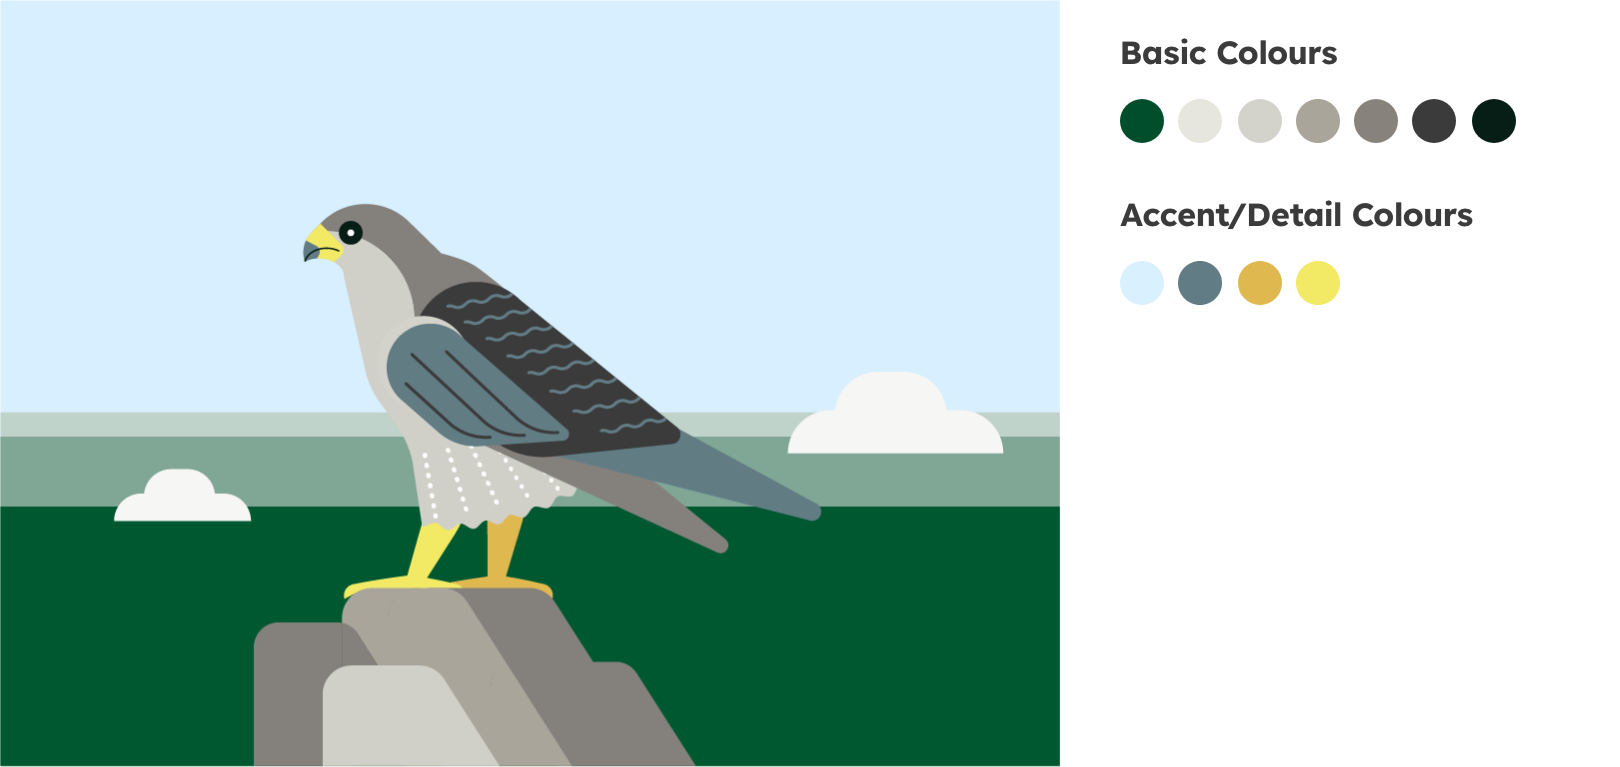

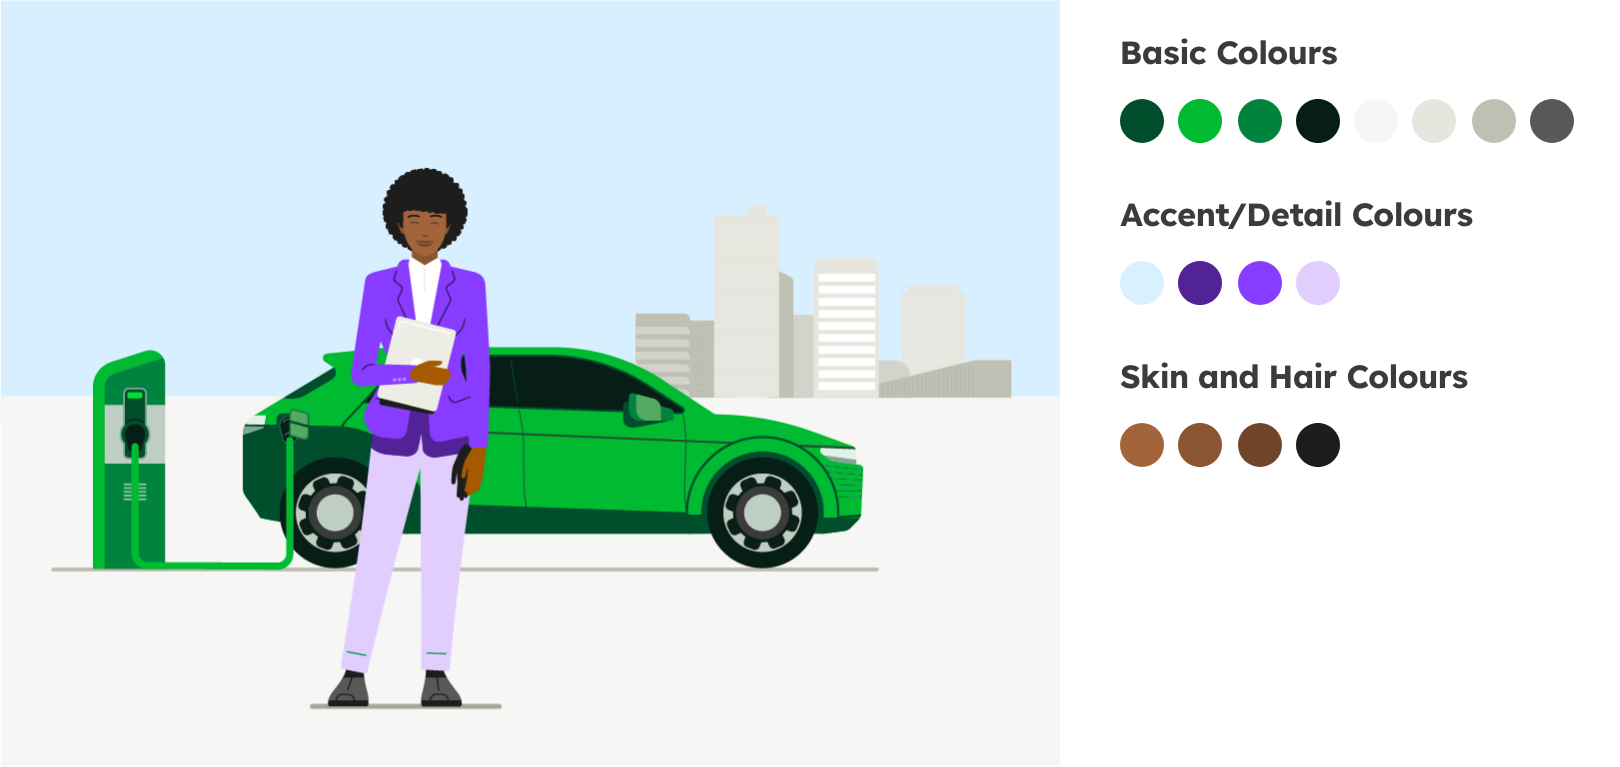

Colour values
Colour values of the illustration colour palette
Basic colours, tints and shades
Deep Green
Deep Green


Deep Green
HEX: #004E2B
RGB: 0 | 78 | 43
CMYK: 77 | 0 | 72 | 70


Deep Green 75%
HEX: #407A60
RGB: 64 | 122 | 96
CMYK: 58 | 0 | 54 | 52


Deep Green 50%
HEX: #004E2B
RGB: 0 | 78 | 43
CMYK: 77 | 0 | 72 | 70


Deep Green 25%
HEX: #BFD3CA
RGB: 191 | 211 | 202
CMYK: 19 | 0 | 18 | 17


Deep Green 15%
HEX: #D9E4DF
RGB: 217 | 228 | 223
CMYK: 12 | 0 | 11 | 10


Deep Green Dark
HEX: #071E17
RGB: 7 | 30 | 23
CMYK: 89 | 59 | 71 | 82
Bright Green
Deep Green


Illustration Green
HEX: #004E2B
RGB: 0 | 78 | 43
CMYK: 77 | 0 | 72 | 70


Illustration Green shade 1
HEX: #00A000
RGB: 0 | 160 | 0
CMYK: 83 | 10 | 100 | 0


Bright Green
HEX: #00DD39
RGB: 0 | 221 | 57
CMYK: 68 | 0 | 98 | 0


Bright Green 50%
HEX: #80EE9C
RGB: 128 | 238 | 156
CMYK: 49 | 0 | 54 | 0


Bright Green 25%
HEX: #BFF7CD
RGB: 191 | 247 | 205
CMYK: 29 | 0 | 29 | 0


Bright Green 15%
HEX: #D9FAE1
RGB: 217 | 250 | 225
CMYK: 18 | 0 | 18 | 0
Mid Green
Mid Green


Mid Green
HEX: #00843D
RGB: 0 | 132 | 61
CMYK: 90 | 0 | 100 | 10


Mid Green 75%
HEX: #40A36E
RGB: 64 | 163 | 110
CMYK: 67 | 0 | 75 | 8


Mid Green 50%
HEX: #80C19E
RGB: 128 | 193 | 158
CMYK: 45 | 0 | 50 | 5


Mid Green 25%
HEX: #BFE0CE
RGB: 191 | 224 | 206
CMYK: 22 | 0 | 25 | 3


Mid Green 15%
HEX: #D9EDE2
RGB: 217 | 237 | 226
CMYK: 13 | 0 | 15 | 2


Mid Green shade 1
HEX: #006B32
RGB: 0 | 107 | 50
CMYK: 90 | 31 | 99 | 22
Sandy Grey
Sandy Grey


Sandy Grey 60%
HEX: #F0F0EC
RGB: 240 | 240 | 236
CMYK: 7 | 5 | 8 | 0


Sandy Grey
HEX: #E6E6DF
RGB: 230 | 230 | 223
CMYK: 0 | 0 | 5 | 10


Sandy Grey shade 1
HEX: #D0D0C8
RGB: 208 | 208 | 200
CMYK: 22 | 15 | 22 | 1


Sandy Grey shade 2
HEX: #BDBCB0
RGB: 189 | 188 | 176
CMYK: 29 | 21 | 30 | 4


Sandy Grey shade 3
HEX: #A7A298
RGB: 167 | 162 | 152
CMYK: 35 | 29 | 36 | 10


Sandy Grey shade 4
HEX: #84807C
RGB: 132 | 128 | 124
CMYK: 46 | 39 | 41 | 22
Sky Blue
Sky Blue


Sky Blue
HEX: #D8EFFF
RGB: 216 | 239 | 255
CMYK: 18 | 0 | 0 | 0


Sky Blue shade 1
HEX: #B7DAF1
RGB: 183 | 218 | 241
CMYK: 32 | 5 | 2 | 0


Sky Blue shade 2
HEX: #A2C2D8
RGB: 162 | 194 | 216
CMYK: 41 | 15 | 11 | 0


Sky Blue shade 4
HEX: #3D7598
RGB: 61 | 117 | 152
CMYK: 78 | 44 | 24 | 8


Steel Blue
HEX: #627C84
RGB: 98 | 124 | 132
CMYK: 63 | 37 | 37 | 18
Accent & Detail colours, tints and shades
Dark Grey
Dark Grey


Dark Grey
HEX: #3B3B3B
RGB: 59 | 59 | 59
CMYK: 0 | 0 | 0 | 80


Dark Grey 75%
HEX: #6C6C6C
RGB: 108 | 108 | 108
CMYK: 0 | 0 | 0 | 60


Dark Grey 50%
HEX: #9D9D9D
RGB: 157 | 157 | 157
CMYK: 0 | 0 | 0 | 40


Dark Grey 25%
HEX: #CECECE
RGB: 206 | 206 | 206
CMYK: 0 | 0 | 0 | 20


Dark Grey 15%
HEX: #E2E2E2
RGB: 226 | 226 | 226
CMYK: 0 | 0 | 0 | 12
Yellow
Yellow


Spark Yellow 100 %
HEX: #FAFA64
RGB: 250 | 250 | 100
CMYK: 10 | 0 | 75 | 0


Spark Yellow 60%
HEX: #FCFCA2
RGB: 252 | 252 | 162
CMYK: 0 | 6 | 45 | 0

Spark Yellow shade 1
HEX: #EFE665
RGB: 239 | 230 | 101
CMYK: 12 | 8 | 74 | 0


Spark Yellow shade 2
HEX: #E3CC5F
RGB: 227 | 204 | 95
CMYK: 14 | 15 | 72 | 1


Spark Yellow shade 3
HEX: #DCB54F
RGB: 220 | 181 | 79
CMYK: 15 | 27 | 77 | 3


Spark Yellow shade 4
HEX: #B97A37
RGB: 185 | 122 | 55
CMYK: 23 | 52 | 83 | 13
Warm Orange
Warm Orange


Warm Orange
HEX: #FF644E
RGB: 255 | 100 | 78
CMYK: 0 | 70 | 60 | 0


Warm Orange 50%
HEX: #FFB1A6
RGB: 255 | 177 | 166
CMYK: 0 | 41 | 29 | 0


Warm Orange 25%
HEX: #FFD8D3
RGB: 255 | 216 | 211
CMYK: 0 | 22 | 14 | 0


Warm Orange 15%
HEX: #FFE8E4
RGB: 255 | 232 | 228
CMYK: 0 | 13 | 9 | 0


Warm Orange shade 1
HEX: #E4654F
RGB: 228 | 101 | 79
CMYK: 5 | 72 | 67 | 0


Warm Orange shade 2
HEX: #C35542
RGB: 195 | 85 | 66
CMYK: 18 | 75 |73 | 7


Warm Orange shade 3
HEX: #C35542
RGB: 160 | 68 | 53
CMYK: 26 | 79 | 76 | 22
Punchy Red
Punchy Red


Punchy Red
HEX: #E50A62
RGB: 229 | 10 | 98
CMYK: 0 | 100 | 30 | 0


Punchy Red 50%
HEX: #F284B0
RGB: 242 | 132 | 176
CMYK: 0 | 62 | 4 | 0


Punchy Red 25%
HEX: #F9C2D8
RGB: 249 | 194 | 216
CMYK: 0 | 33 | 2 | 0


Punchy Red 15%
HEX: #FBDAE7
RGB: 251 | 218 | 231
CMYK: 0 | 21 | 2 | 0


Punchy Red shade 1
HEX: #CA0960
RGB: 202 | 9 | 96
CMYK: 15 | 100 | 32 |5


Punchy Red shade 2
HEX: #A61352
RGB: 166 | 19 | 82
CMYK: 24 | 100 |37 |19


Punchy Red shade 3
HEX: #7D123A
RGB: 125 | 18 | 58
CMYK. 31 | 100 | 47 | 42
Vibrant Purple
Vibrant Purple


Vibrant Purple
HEX: #873CFF
RGB: 135 | 60 | 255
CMYK: 60 | 65 | 0 | 0


Vibrant Purple 50%
HEX: #C39DFF
RGB: 195 | 157 | 255
CMYK: 35 | 42 | 0 | 0


Vibrant Purple 25%
HEX: #E1CEFF
RGB: 225 | 206 | 255
CMYK: 15 | 22 | 0 | 0


Vibrant Purple 15%
HEX: #EDE2FF
RGB: 237 | 226 | 255
CMYK: 8 | 14 | 0 | 0


Vibrant Purple shade 1
HEX: #652DBC
RGB: 101 | 145 | 188
CMYK: 80 | 83 | 0 | 0


Vibrant Purple shade 2
HEX: #512396
RGB: 81 | 35 | 150
CMYK: 86 | 94 | 0 | 0


Vibrant Purple shade 3
HEX: #361766
RGB: 54 | 23 | 102
CMYK: 96 | 100 | 27 | 15
Skin Colours
Skin Colours


Skin 1
HEX: #875841
RGB: 135 | 88 | 65
CMYK: 33 | 60 | 67 | 36


Skin 1 shade
HEX: #6b3e28
RGB: 107 | 62 | 40
CMYK: 37 | 68 | 77 | 51


Skin 1 accent
HEX: #421601
RGB: 66 | 22 | 1
CMYK: 48 | 83 | 83 | 74


Skin 2
HEX: #a3643b
RGB: 163 | 100 | 59
CMYK: 27 | 60 | 77 | 22


Skin 2 shade
HEX: #8b5533
RGB: 139 | 85 | 51
CMYK: 31 | 62 | 78 | 34


Skin 2 accent
RGB: 112 | 70 | 40
CMYK: 39 | 67 | 78 | 58


Skin 3
HEX: #ca8246
RGB: 202 | 130 | 70
CMYK: 18 | 53 | 77 | 6


Skin 3 shade
HEX: #ad6a30
RGB: 173 | 106 | 48
CMYK: 25 | 59 | 86 | 17


Skin 3 accent
HEX: #8f4e16
RGB: 173 | 106 | 48
CMYK: 30 | 68 | 99 | 31


Skin 4
HEX: #e0a488
RGB: 224 | 164 | 136
CMYK: 0 | 41 | 42 | 0


Skin 4 shade
HEX: #c79179
RGB: 199 | 145 | 121
CMYK: 16 | 44 | 45 | 4


Skin 4 accent
HEX: #ad7e69
RGB: 173 | 126 | 105
CMYK: 20 | 54 | 58 | 8


Skin 5
HEX: #c7a57a
RGB: 199 | 165 | 122
CMYK: 21 | 33 | 54 | 8


Skin 5 shade
HEX: #ad906b
RGB: 173 | 144 | 107
CMYK: 28 | 37 | 57 | 16


Skin 5 accent
HEX: #947a5b
RGB: 148 | 122 | 91
CMYK: 34 | 42 | 60 | 26


Skin 6
HEX: #ebc08f
RGB: 235 | 192 | 143
CMYK: 8 | 28 | 48 | 1


Skin 6 shade
HEX: #deb07a
RGB: 222 | 176 | 122
CMYK: 13 | 33 | 56 | 2


Skin 6 accent
HEX: #bd8440
RGB: 189 | 132 | 64
CMYK: 22 | 48 | 80 | 11


Skin 7
HEX: #f3d8be
RGB: 243 | 216 | 190
CMYK: 5 | 18 | 28 | 0


Skin 7 shade
HEX: #e8c5a2
RGB: 232 | 197 | 162
CMYK: 10 | 25 | 39 |1


Skin 7 accent
HEX: #b8927e
RGB: 184 | 146 | 126
CMYK: 24 | 41 | 45 | 13


Skin 8
HEX: #facbbe
RGB: 250 | 203 | 190
CMYK: 0 | 25 | 22 | 0


Skin 8 shade
HEX: #fabdac
RGB: 250 | 189 | 172
CMYK: 3 | 32 | 30 |0


Skin 8 accent
HEX: #e69a85
RGB: 230 | 154 | 133
CMYK: 7 | 48 | 44 | 1
Hair & Eye Colours
Hair & Eye Colours


Grey 1 Hair
HEX: #c0c0c0
RGB: 192 | 192 | 192
CMYK: 41 | 36 | 39 | 17


Grey 1 Eye
HEX: #737373
RGB: 115 | 115 | 115
CMYK: 54 | 50 | 52 | 45


Grey 2 Hair
HEX: #948c85
RGB: 148 | 140 | 133
CMYK: 28 | 21 | 22 | 3


Grey 2 Eye
HEX: 5C544F
RGB: 92 | 84 | 79
CMYK: 53 | 42 | 42 | 26

Yellow 1 Hair
RGB: 227 | 204 | 95
CMYK: 14 | 15 | 72 | 1


Yellow 1 Eye
HEX: #A87223
RGB: 168 | 114 | 35
CMYK: 27 | 52 | 94 | 20


Yellow 2 Hair
HEX: #DDB74F
RGB: 221 | 183 | 79
CMYK: 15 | 26 | 77 | 3


Yellow 2 Eye
HEX: #996815
RGB: 153 | 104 | 21
CMYK: 29 | 53 | 99 | 27


Orange 1 Hair
HEX: #D46918
RGB: 212 | 105 | 24
CMYK: 13 | 67 | 98 | 3


Orange 1 Eye
HEX: #914509
RGB: 145 | 69 | 9
CMYK: 29 | 74 | 100 | 30


Orange 2 Hair
HEX: #A25900
RGB: 162 | 89 | 0
CMYK: 27 | 65 | 100 | 22


Orange 2 Eye
HEX: #693900
RGB: 105 | 57 | 0
CMYK: 37 | 70 | 100 | 53


Brown 1 Hair
HEX: #5C2300
RGB: 92 | 35 | 0
CMYK: 39 | 83 | 95 | 61


Brown 1 Eye
HEX: #3D1700
RGB: 61 | 23 | 0
CMYK: 51 | 79 | 81 | 77


Brown 2 Hair & Eye
HEX: #3D1900
RGB: 48 | 13 | 9
CMYK: 54 | 87 | 72 | 83


Black Hair & Eye
HEX: #1B1413
RGB: 27 | 20 | 19
CMYK: 65 | 69 | 59 | 80
Illustration details
Shadows
Shadows are used sparingly to make our illustrations appear three-dimensional and alive. They can be used to animate otherwise one-dimensional surfaces or to separate areas of the same colour.
Lines
Lines are used to add detail or to separate areas of the same colour. They normally have rounded ends. If lines end flush with a surface, they can also be cropped. When creating a composition from individual illustrations, make sure that the line widths match (more on this under „Combining objects“ below). The basic line width of the illustrations contained in the Illustration Library is 1.5 pt. Based on this, thicker lines may be created in 3pt or 6 pt if necessary.
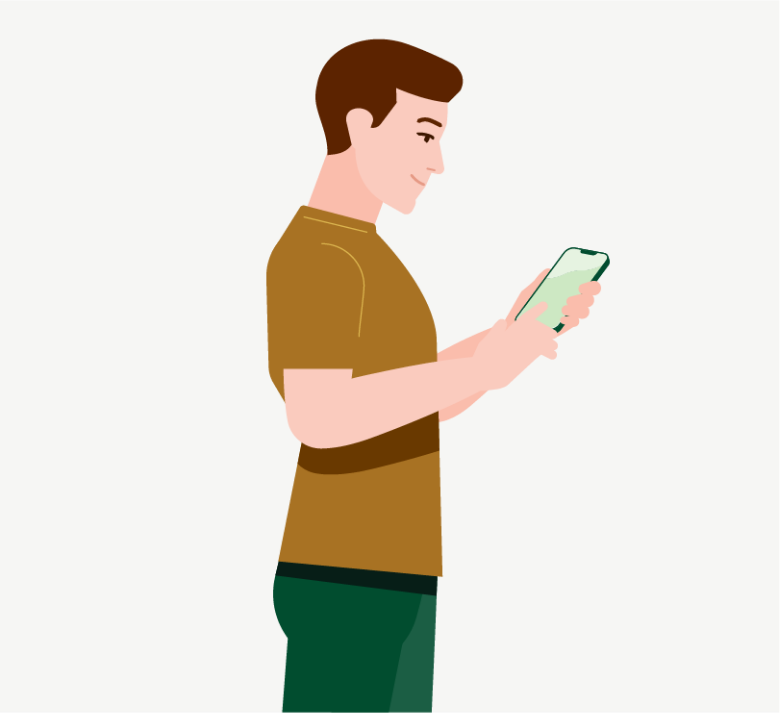

The shadow areas add plasticity and structure to larger areas.
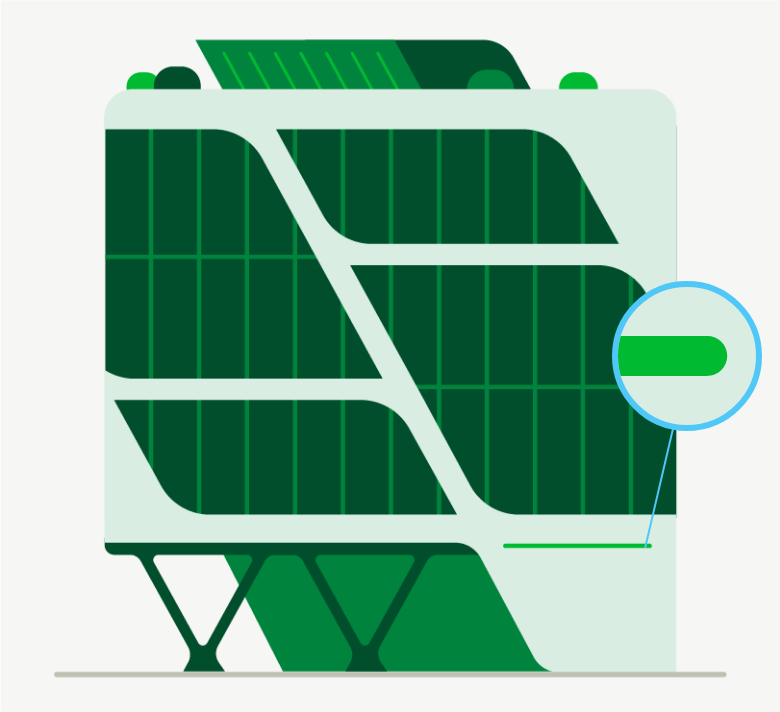

The lines give structure to the window areas and add the necessary level of detail to the motif.
Background
Background
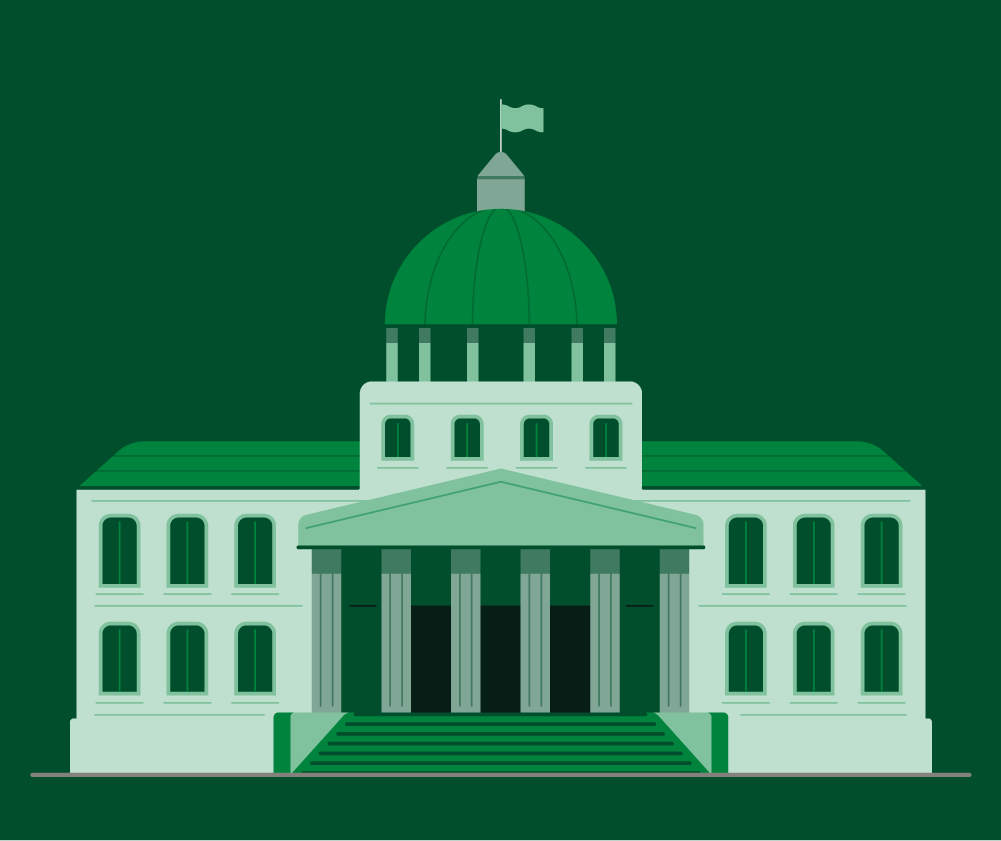
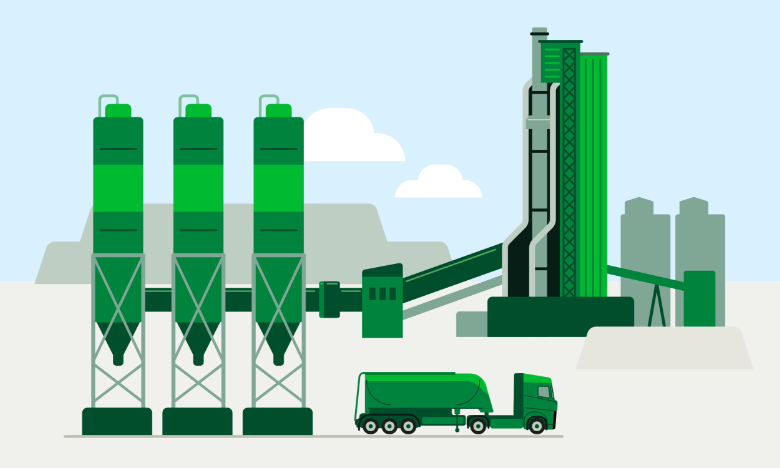
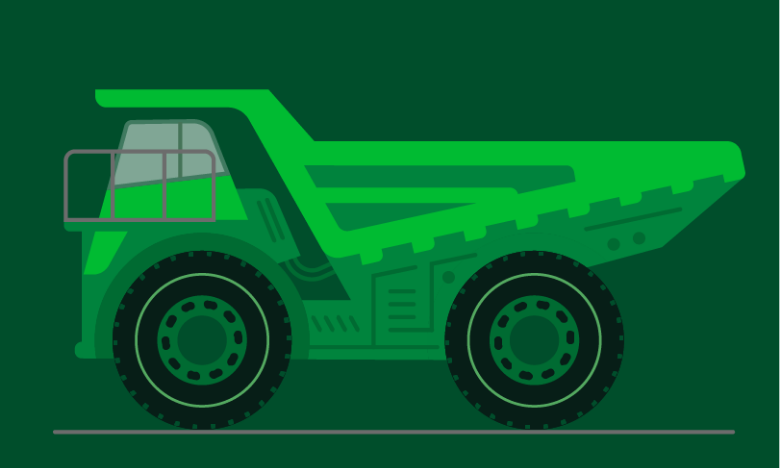
Our illustrations are always placed on a coloured background, which makes them stand out from their surroundings and enhances the recognisability of our brand. The background can be a single colour of Sandy Grey 60% for interiors and single objects. For outdoor scenes, the background consists of two colour areas: Sky Blue at the top and Sandy Grey 60% at the bottom.
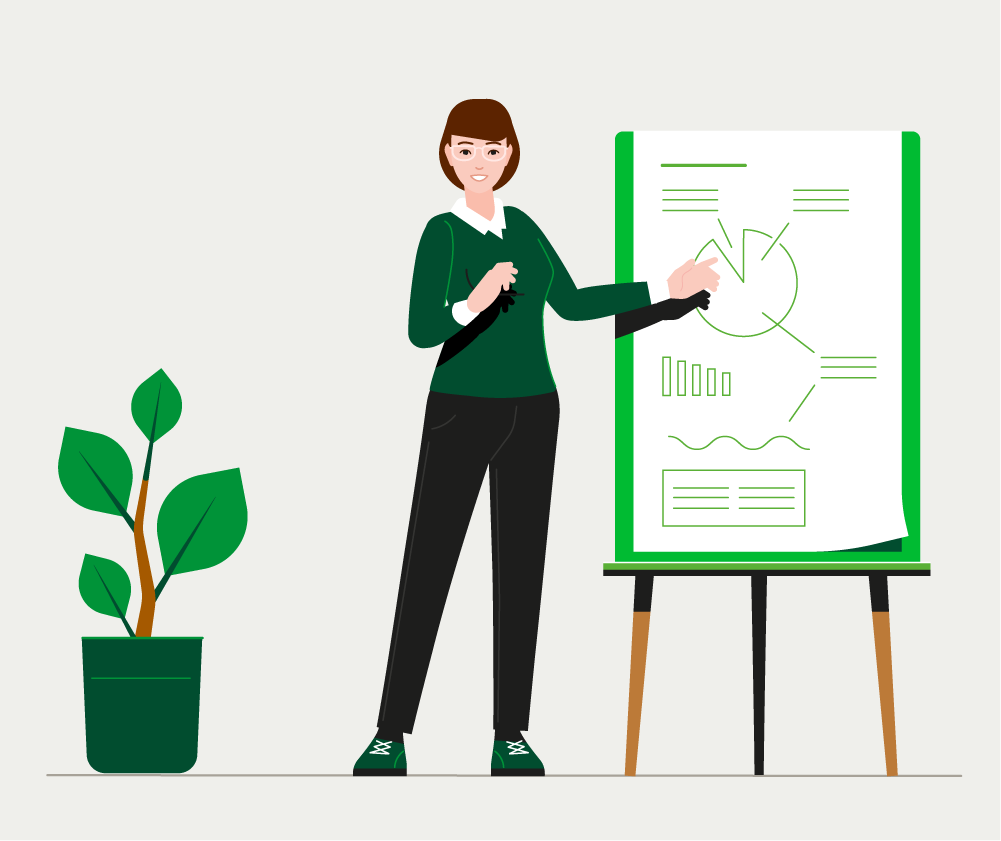

Background for indoor scenes & single objects: Single Colour Sandy Grey 60% or Deep Green

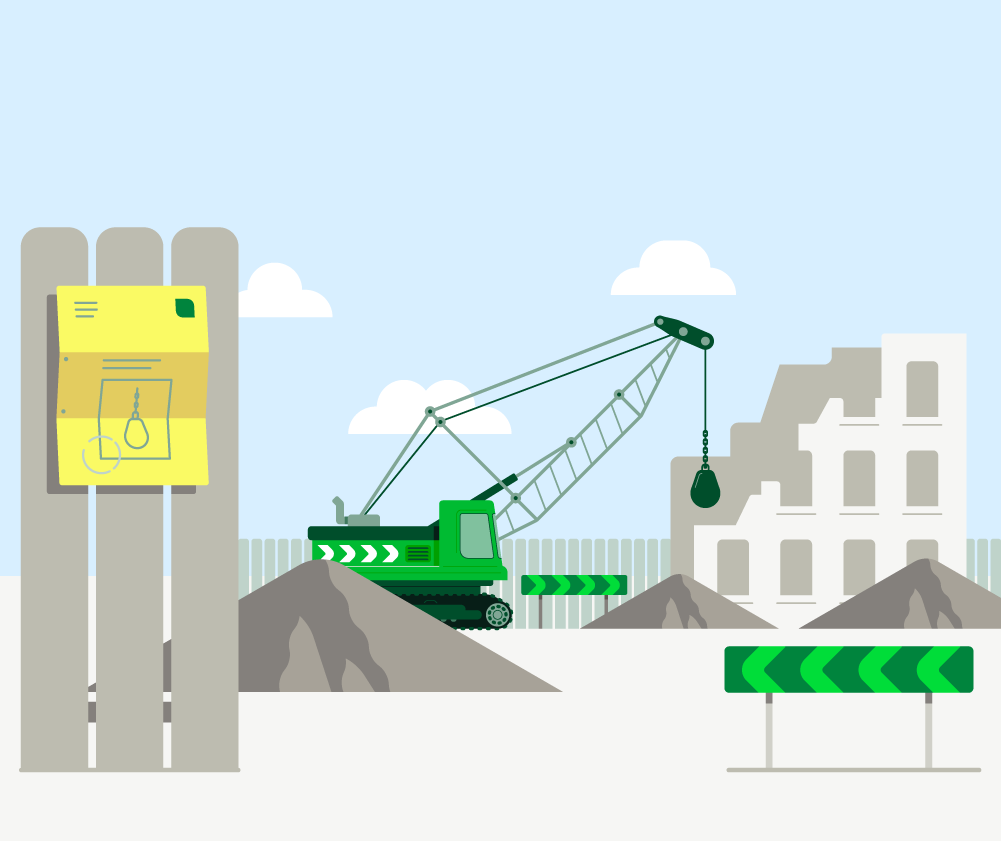

Background for outdoor scenes: Bottom Sandy Grey 60%, Top Sky Blue
Baseline
Baseline
We can add a baseline to our objects to give them a reference to the surface. This is particularly useful for building scenes, as the baseline helps to structure the foreground and background. The colour of the baseline is Sandy Grey Shade 2.


Characters
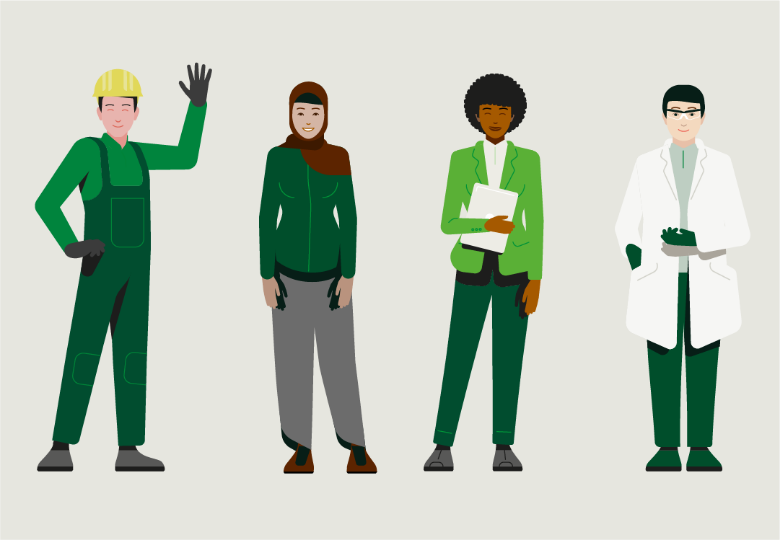
People bring life and emotion to our illustrations. They can make technical subjects more accessible and create opportunities for the viewer to identify with. The people in our illustrations represent the diversity of our workforce. They are friendly and professional.
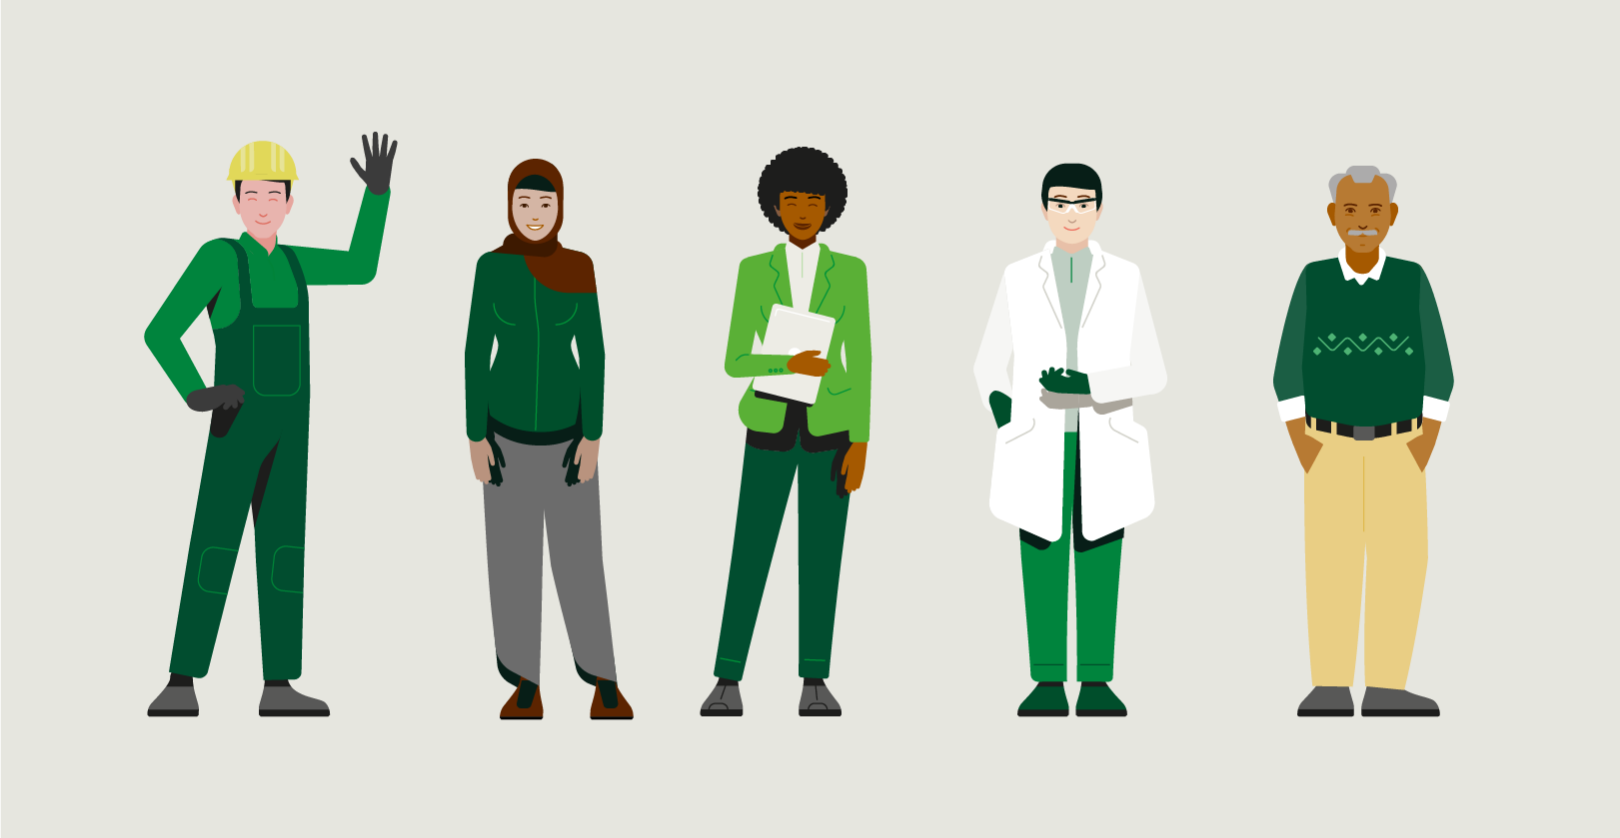

To start with, 11 characters have been developed to reflect the diversity of our world. Our group will continue to grow in the future.
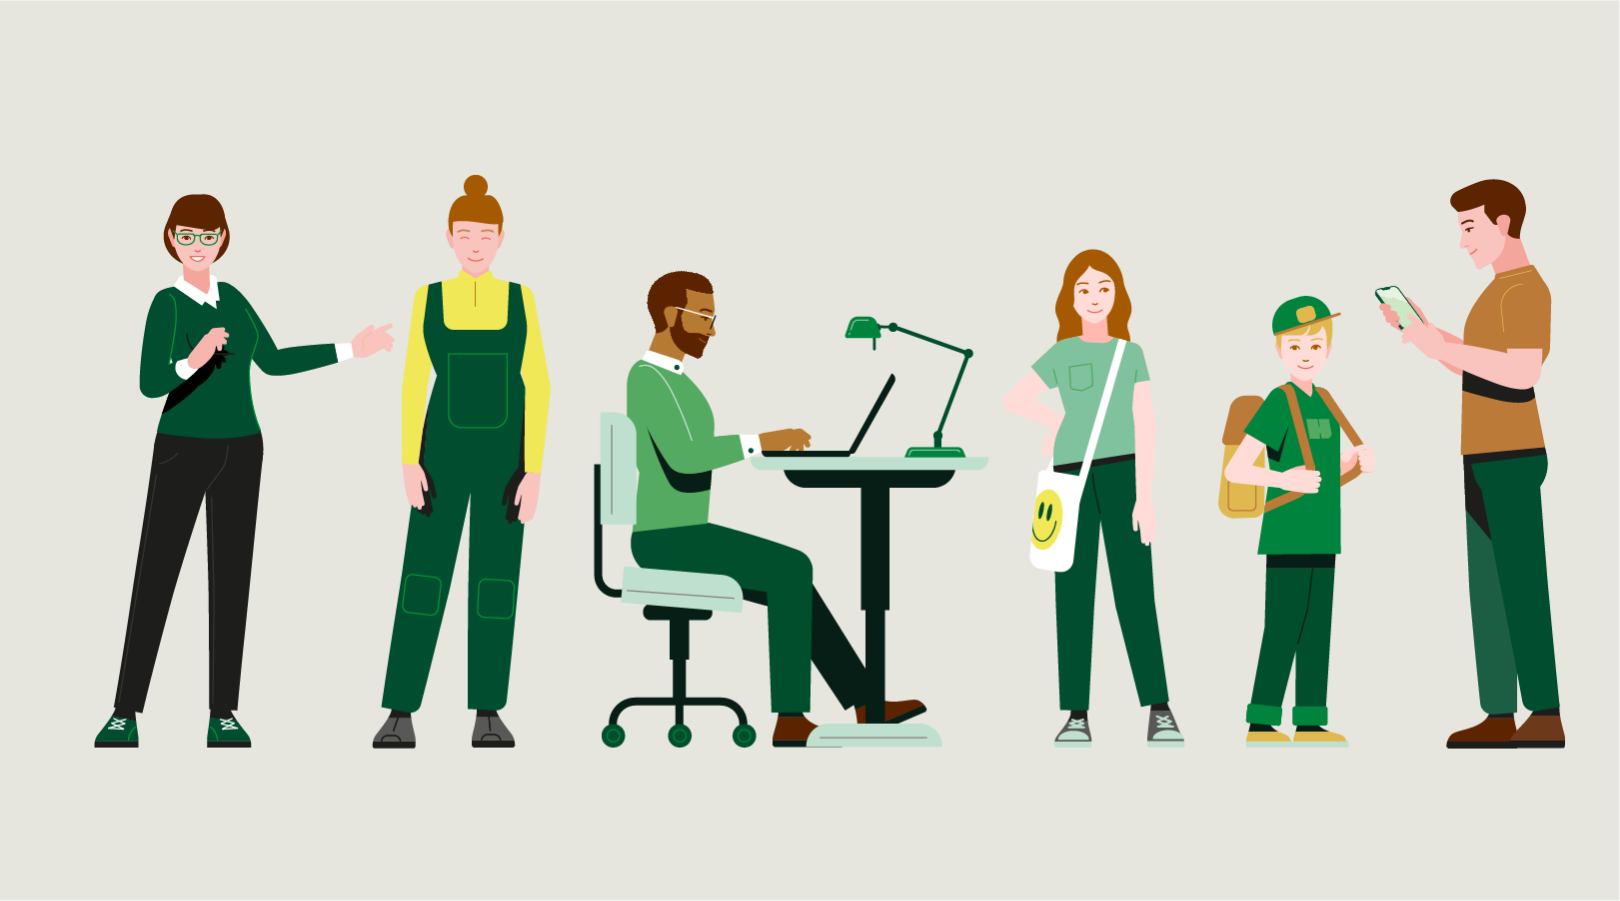

Our figures are designed so that the heads and clothing are interchangeable, allowing many different characters to be created.
Body shapes
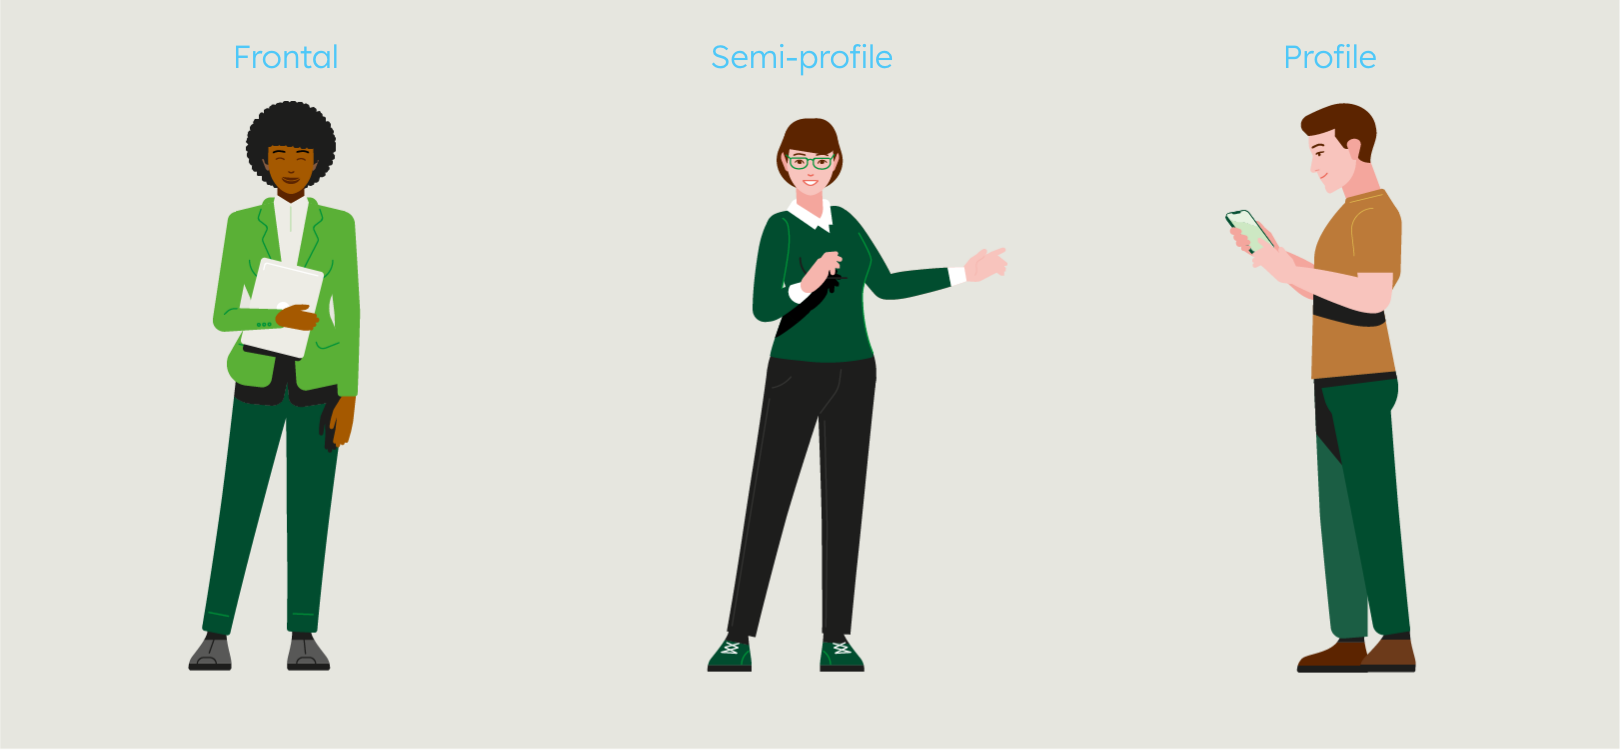

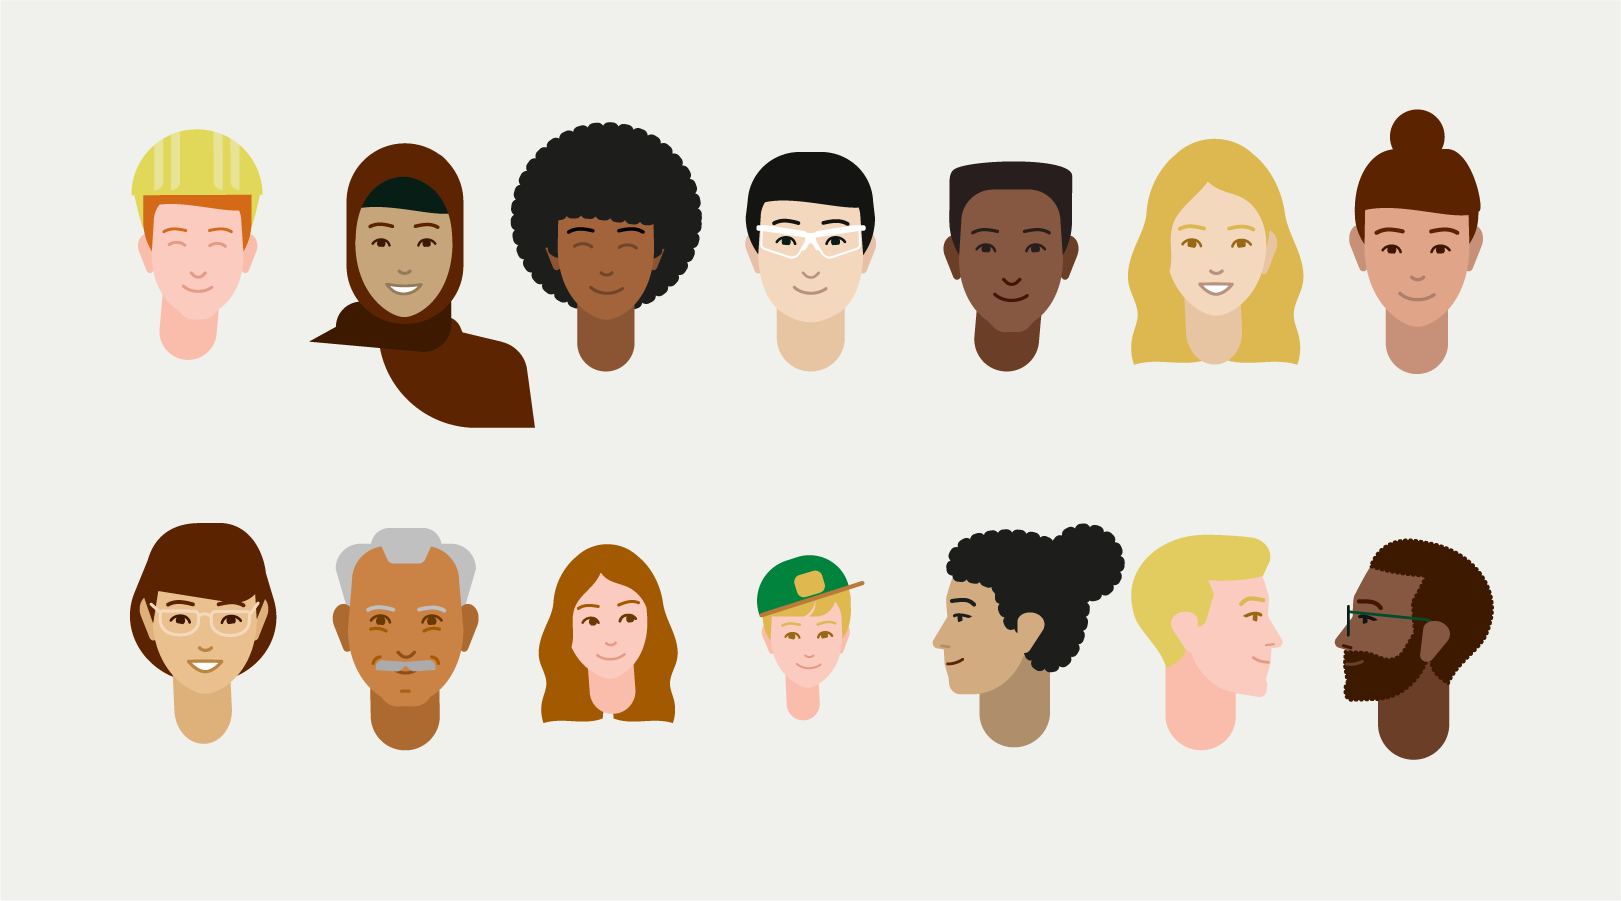
Heads, skin and hair

Faces
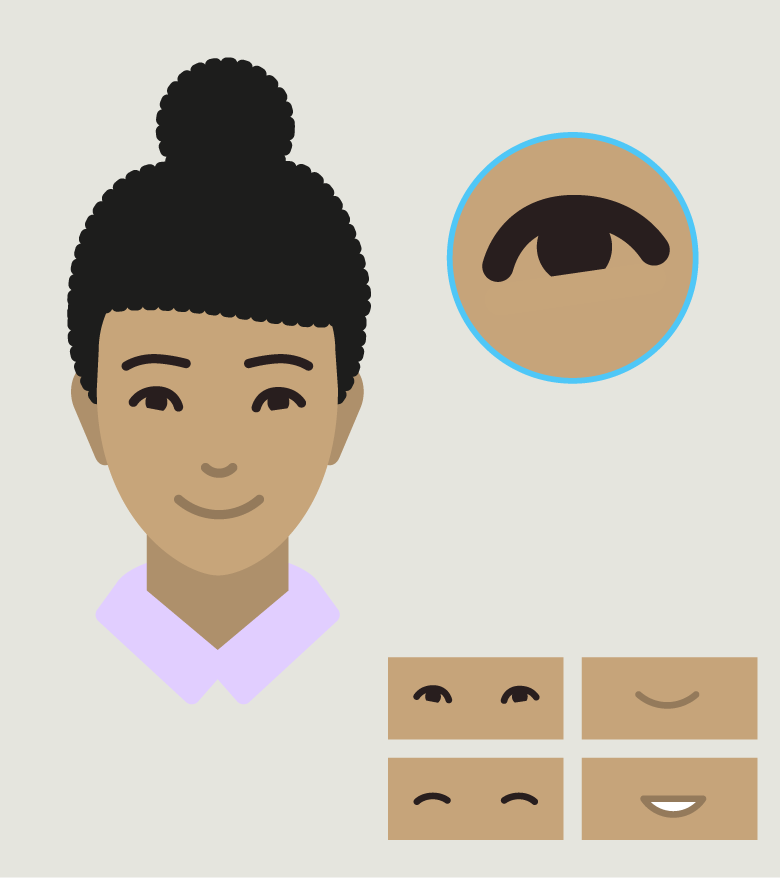

If the size of the illustration allows it, our people have faces. The expression is always friendly and positive.
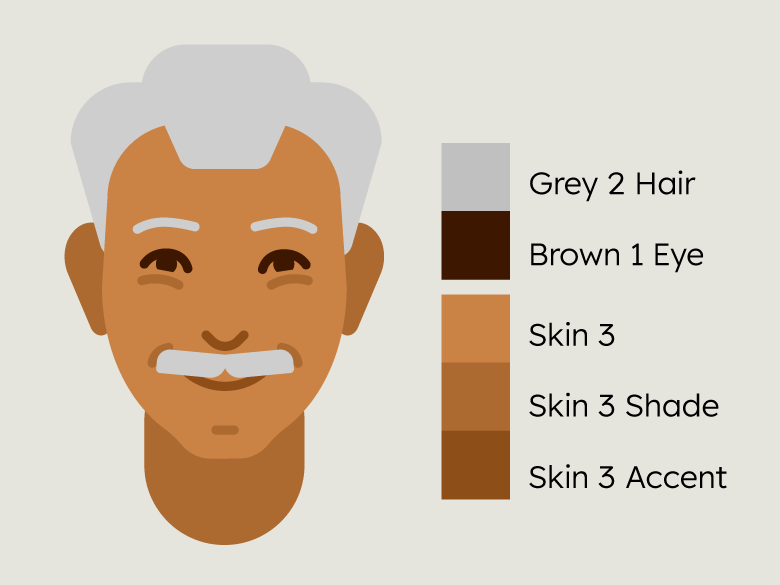
The faces smile with the mouth and with the eyes, through the suggestion of the lower eyelid. The eyebrows have the same colour as the hair, and the eyes are shaded a tone darker.
The nose is only hinted at and shaded in the accent of the skin tone.
Different mouth shapes are available, designed in a skin tone or red tone.
Beards are shaded in the colour of the hair.
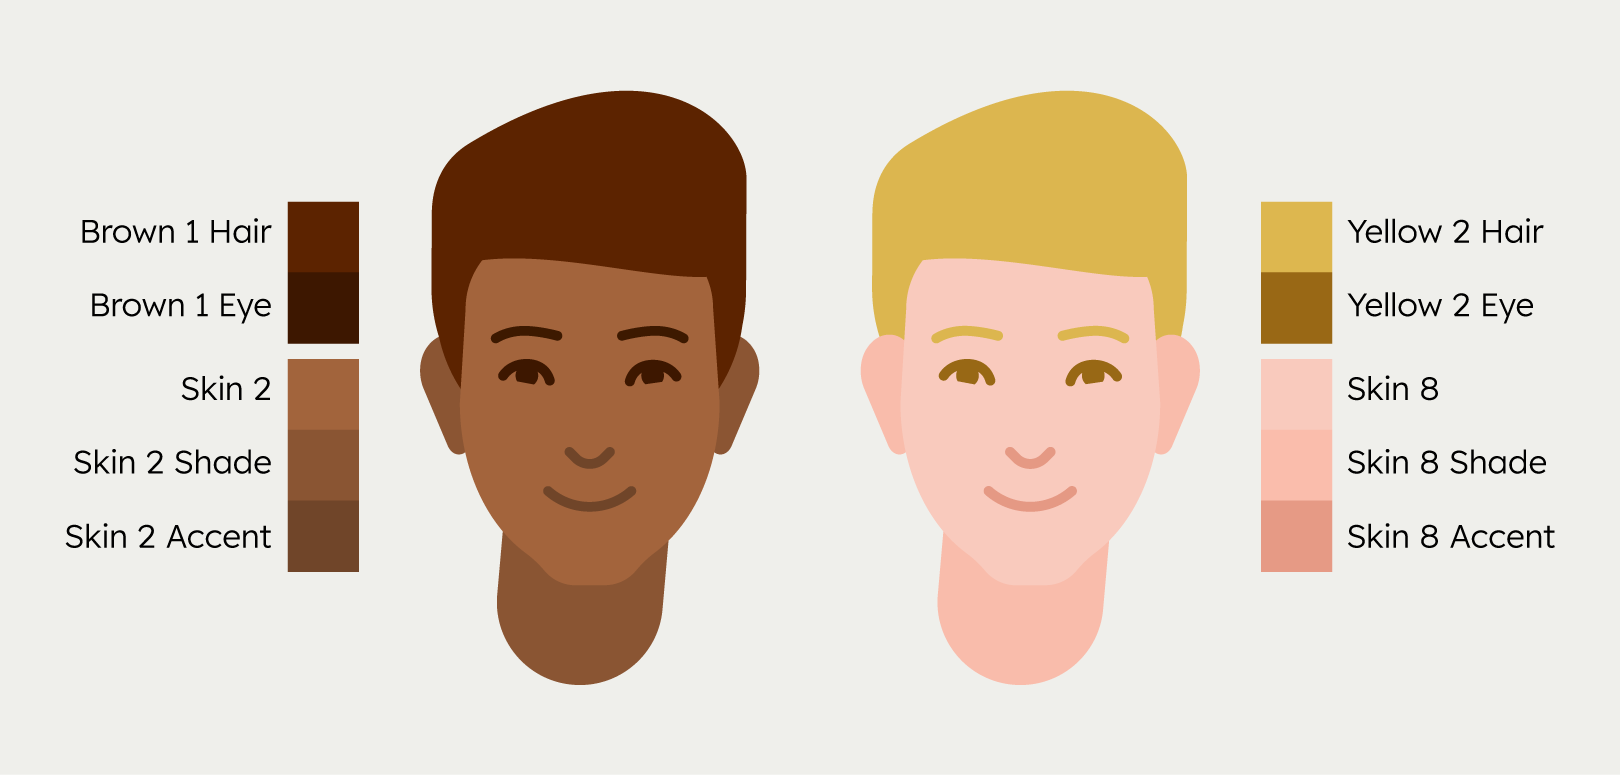

Each character can have different skin tones and hair colours. The respective colour scheme must be followed. Each of the eight skin tones has a shade and an accent colour. Each hair colour has a shade that can be used as an eye colour. Note that the eye colour should be significantly darker than the skin tone.

Clothing

Objects
The representation of objects and their surroundings is generally positive, healthy, and modern. The level of detail in the illustration depends on its display size within a scene. Objects in the foreground are more detailed while objects in the background are more simplified. To create complex scenes, it may be necessary to adjust the level of detail and colour of objects.
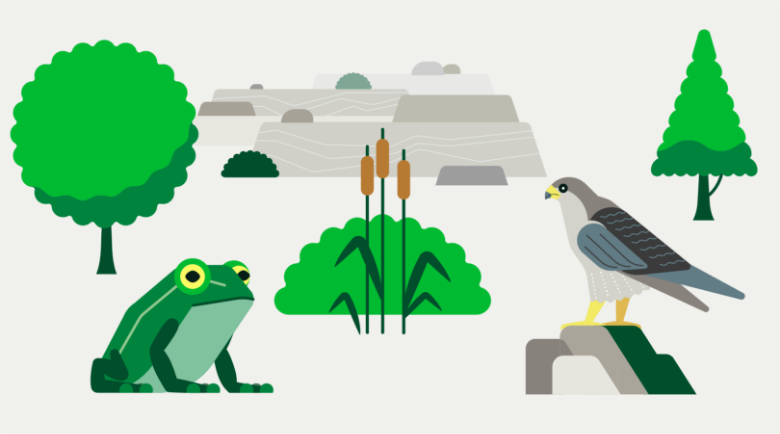



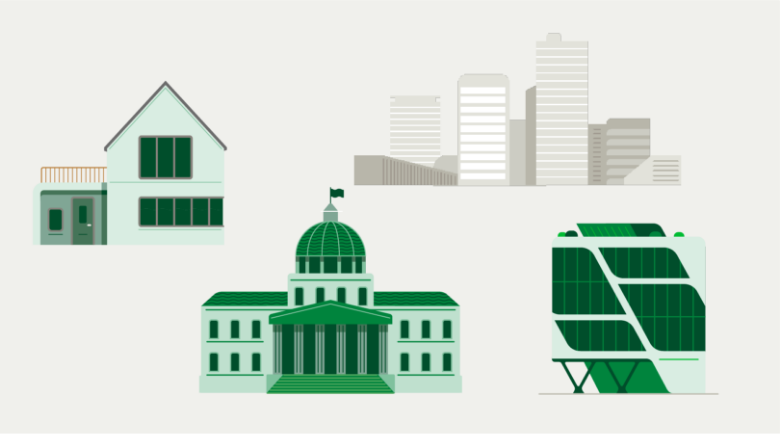

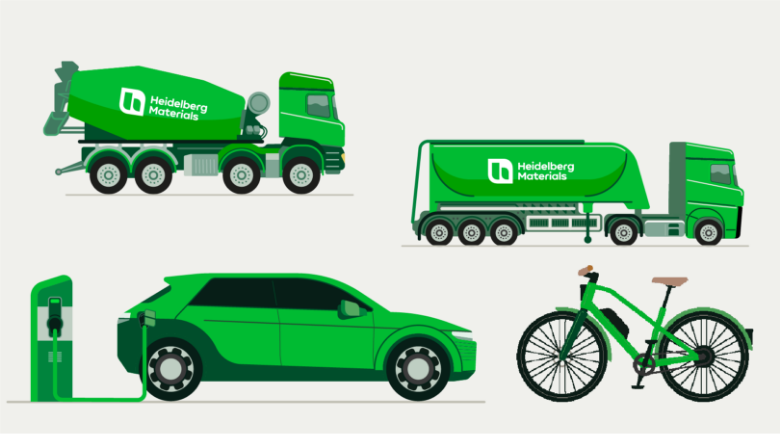

Scenes
Multiple objects can be combined to form a scene. It is important that the foreground objects stand out clearly from the background. Generally, the main subject is in the foreground and has the most contrast and detail. The further an object is in the background, the less detail and contrast it has.
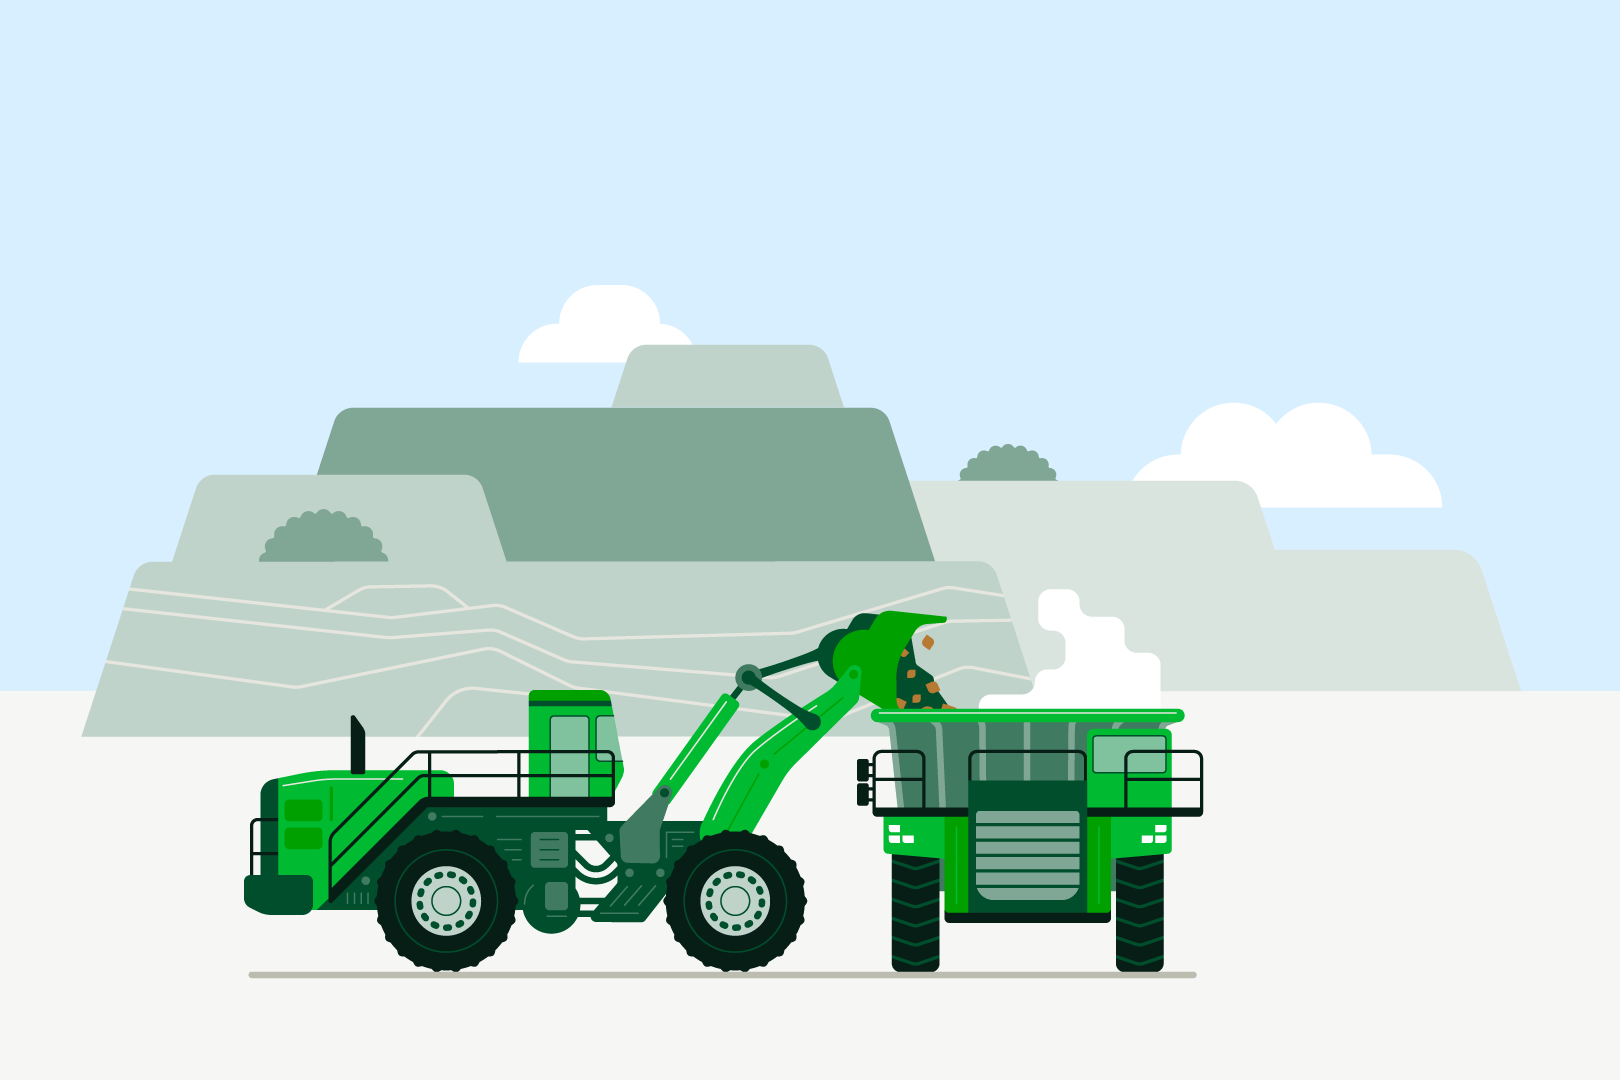

“Raw materials, excavator, truck loading”
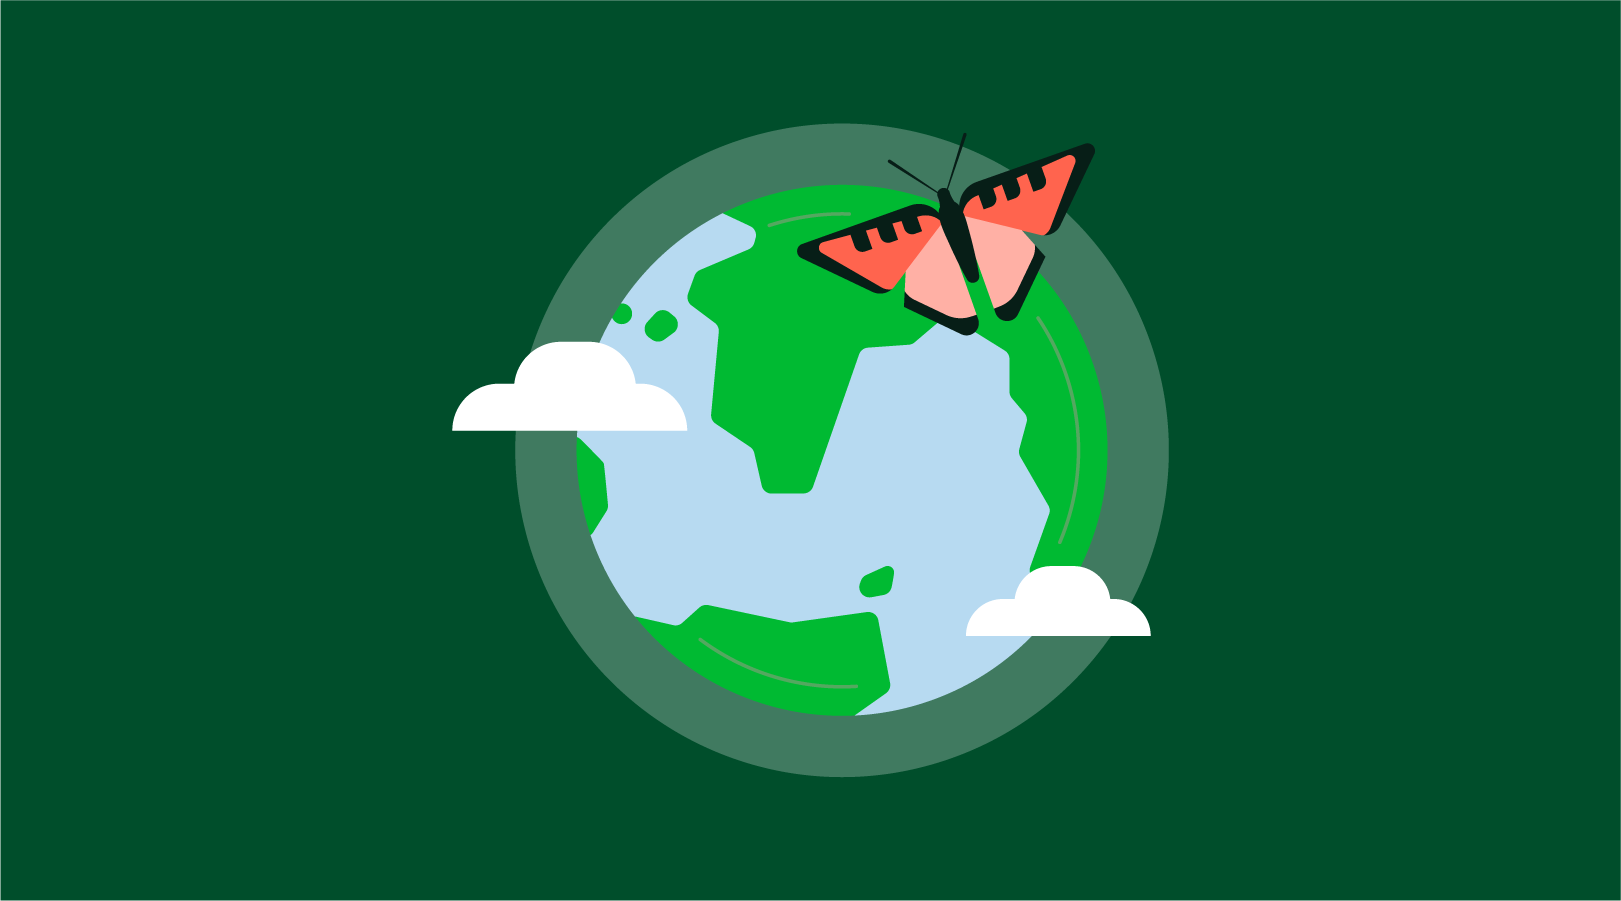

“Earth”
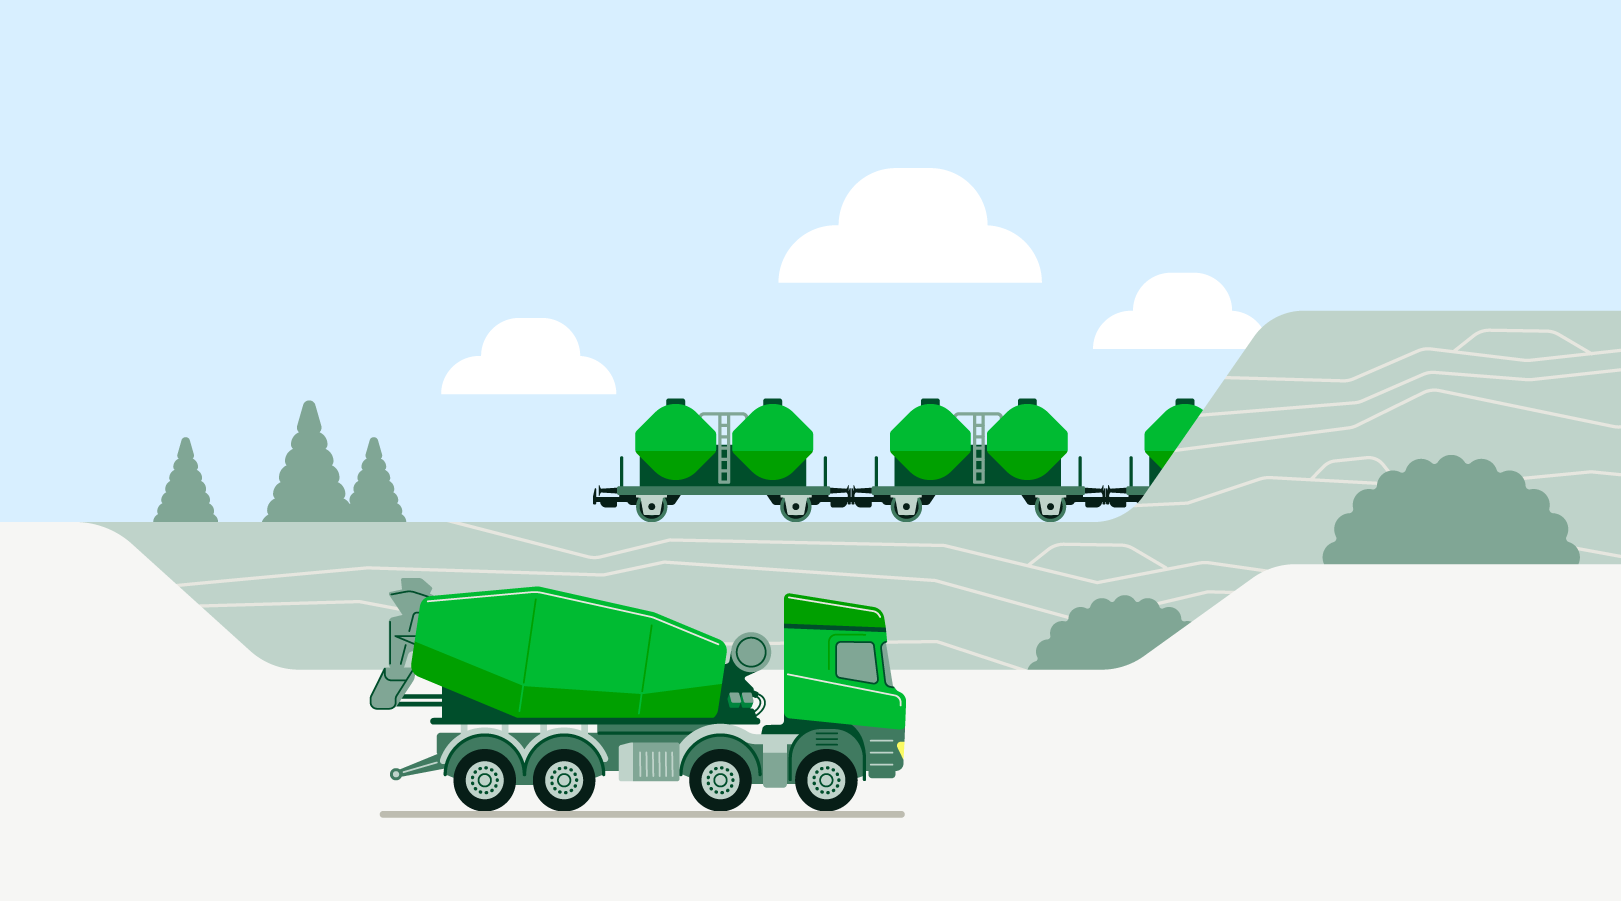

“Logistics”
Scene composition
Scene composition
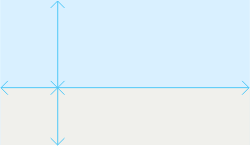

Background:
Our scenes are placed on a background consisting of one or two coloured areas.
Outdoor: Sky Blue at the top and Sandy Grey 60% at the bottom
Indoor: Sandy Grey 60%
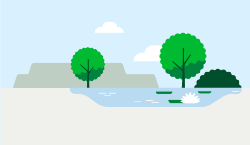

Surroundings
The surroundings of the scene are designed to emphasise the main subject in terms of colour and composition. Details of background objects can be reduced.
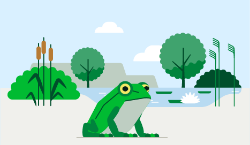

Subject
The main subject is in the foreground. Here the details are worked out. The rich colours create clear contrasts.
Combining and scaling illustrations
The illustrations contained in our library have fixed sizes. The proportions of the various illustrations in relation to each other have been chosen so that they make sense in as many cases as possible when put together without scaling them. In certain cases, however, it may be necessary to scale illustrations in order to give a character or object more or less weight within a composition.
When scaled to 100% of their original size, the illustrations contained in the library have a uniform level of detail and uniform line width. When scaling and combining illustrations, it is important to ensure that the level of detail and line width within a composition match, in order to achieve a coherent overall impression.
Depth of detail
Depending on the application and purpose, illustrations can be used in larger or smaller sizes. In a small size, details are barely visible, whereas in a large size they add life to the illustration. All illustrations are supplied with the same level of detail; if required to be used in a small medium, the illustration will need to be adjusted accordingly.
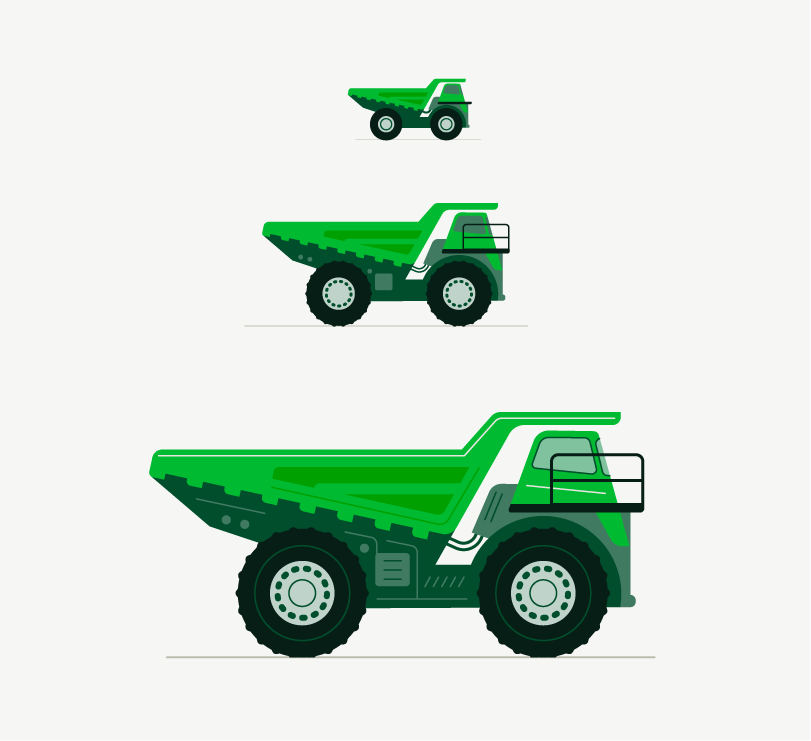

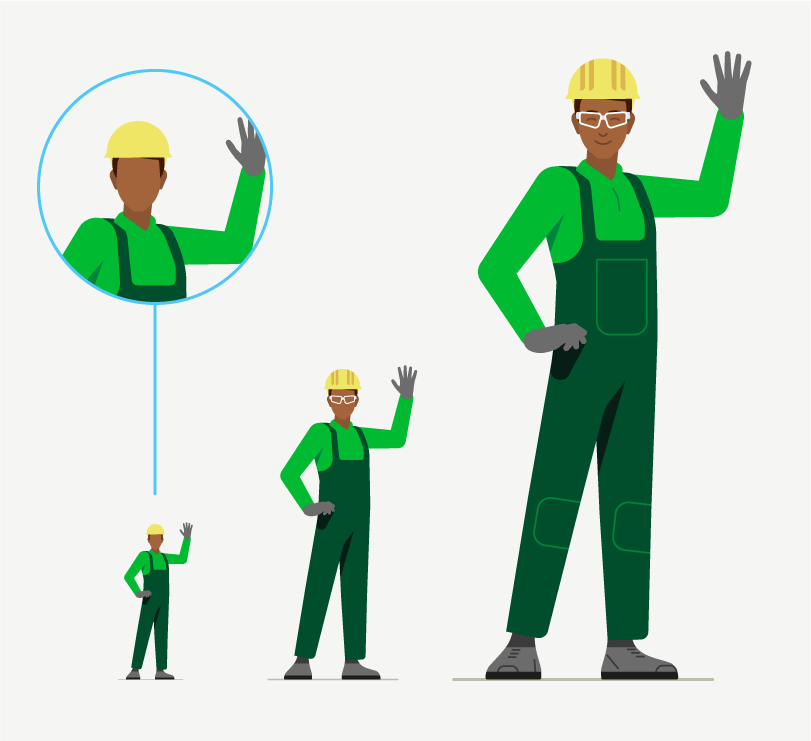

At 100%: all details such as textures, shading, and fine lines are worked out.
At 50%: details are reduced, fine lines are omitted.
At 25%: only essential forms are recognisable, faces and small areas are omitted. If a more stylized representation is required, the use of an icon instead of an illustration should be considered
Line width
Depending on the level of detail, an illustration can contain several line widths. However, in order to achieve a consistent look, these should be within our line width scale. This ensures that even scaled illustrations fit together in most cases.
For illustrations that are scaled to 25%, 50%, 100% or 200% of their original size, the line widths automatically fit into the line width scale (see exemplary scenes below).
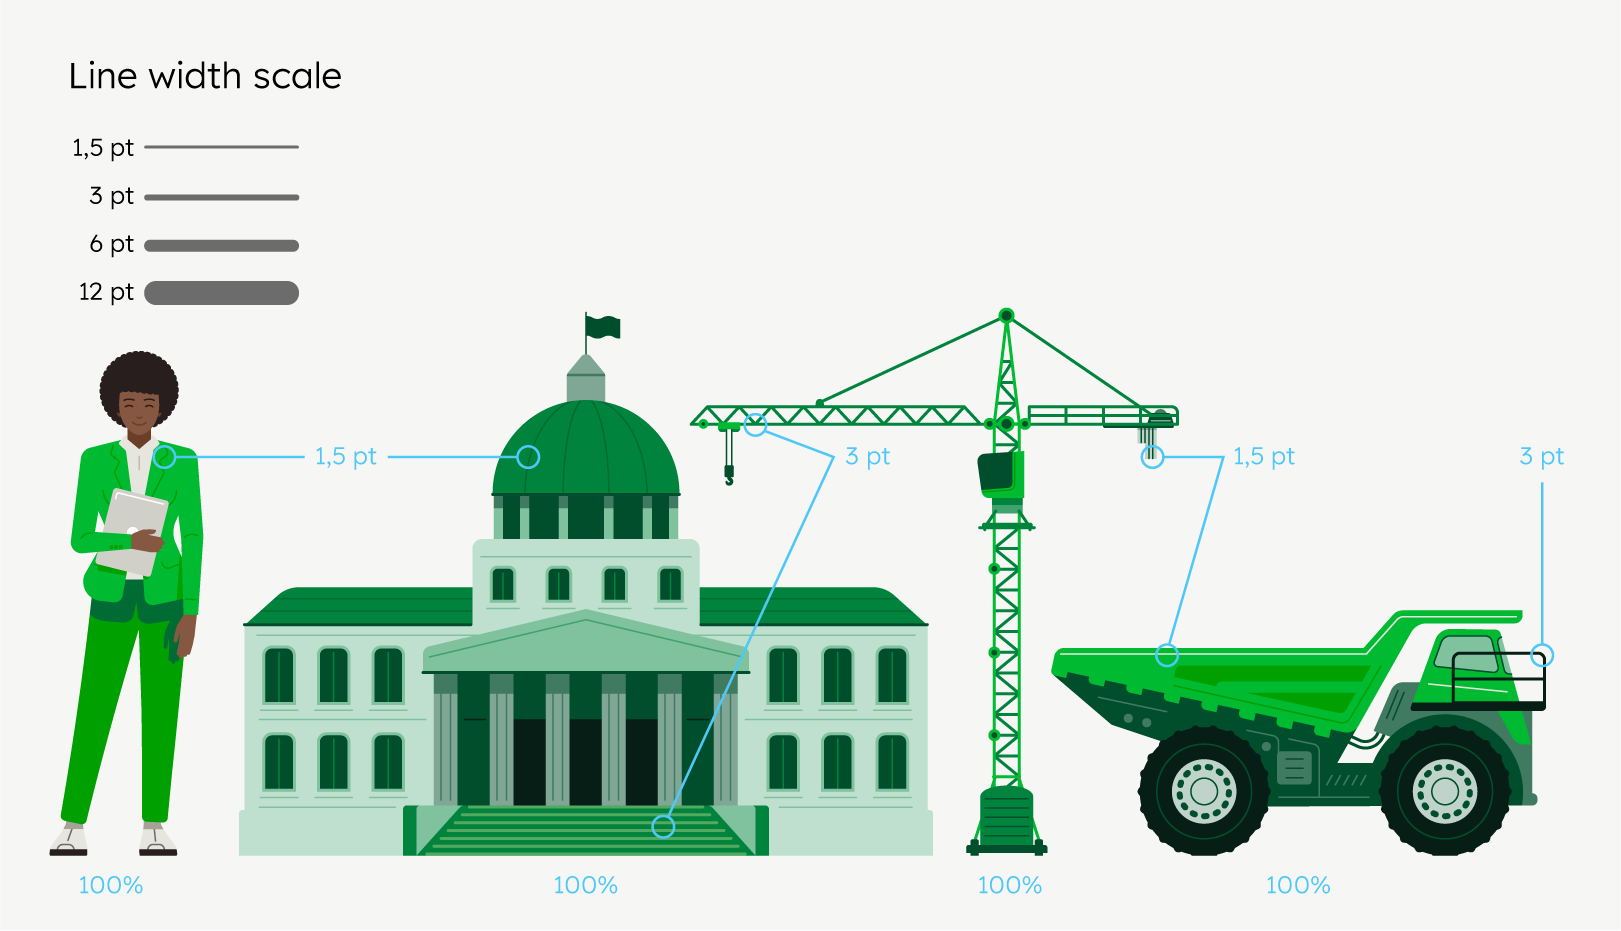

At original size, a 1.5 pt line width predominates in all illustrations.
Exemplary scenes
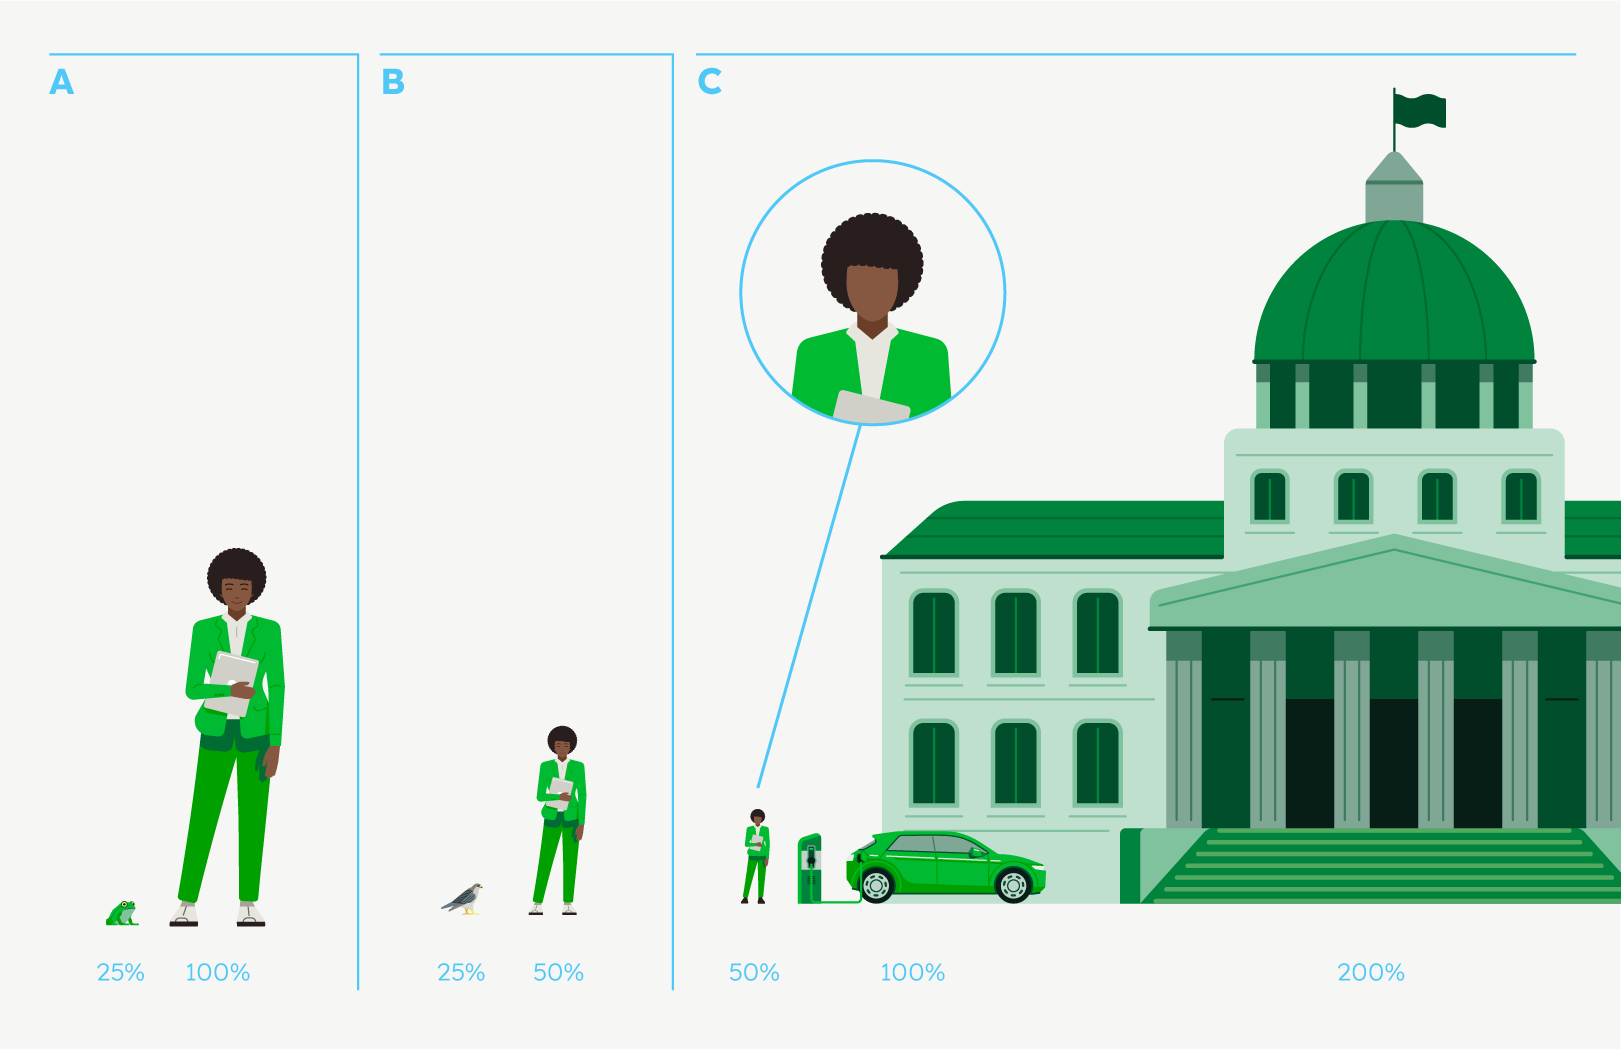

Illustrations can be combined in various scales to depict real size relationships. The line thickness may vary, but it always fits into the line width scale
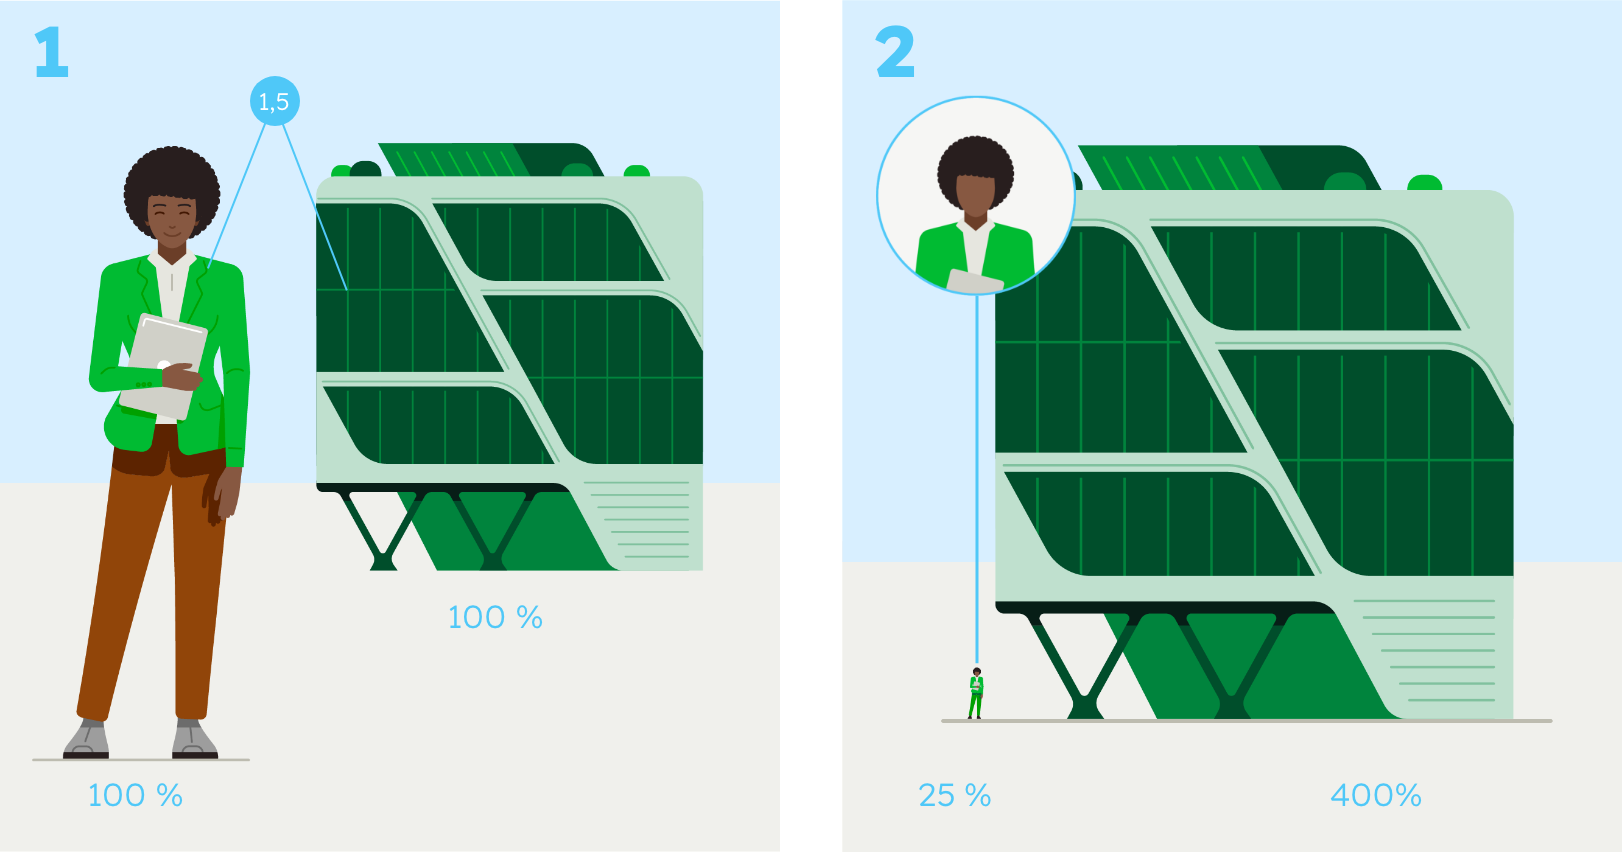

1 Both objects are placed at 100% display size, and due to the arrangement in the foreground and background, the proportions are correct, and the line thickness remains the same.
2 The scene consists of scaled objects. As the woman is shown very small, her face and other details have been removed to create a harmonious overall impression of the composition.
Corporate vs. reality
In some cases, it is necessary to deviate from the green tones and use realistic colours. This is done for explanatory purposes.
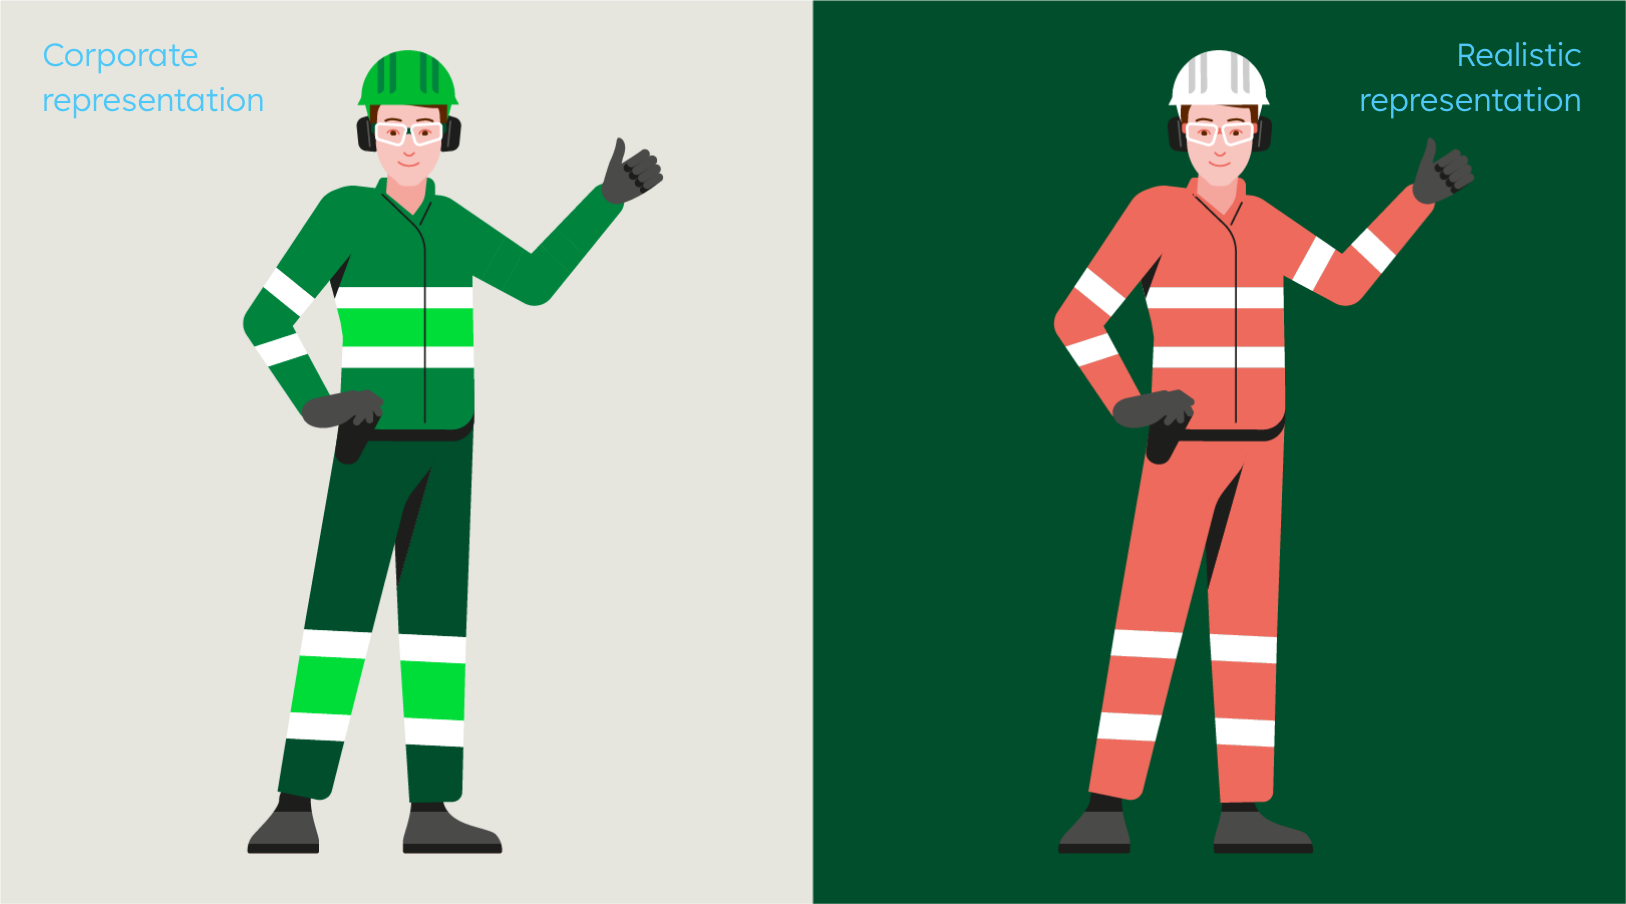

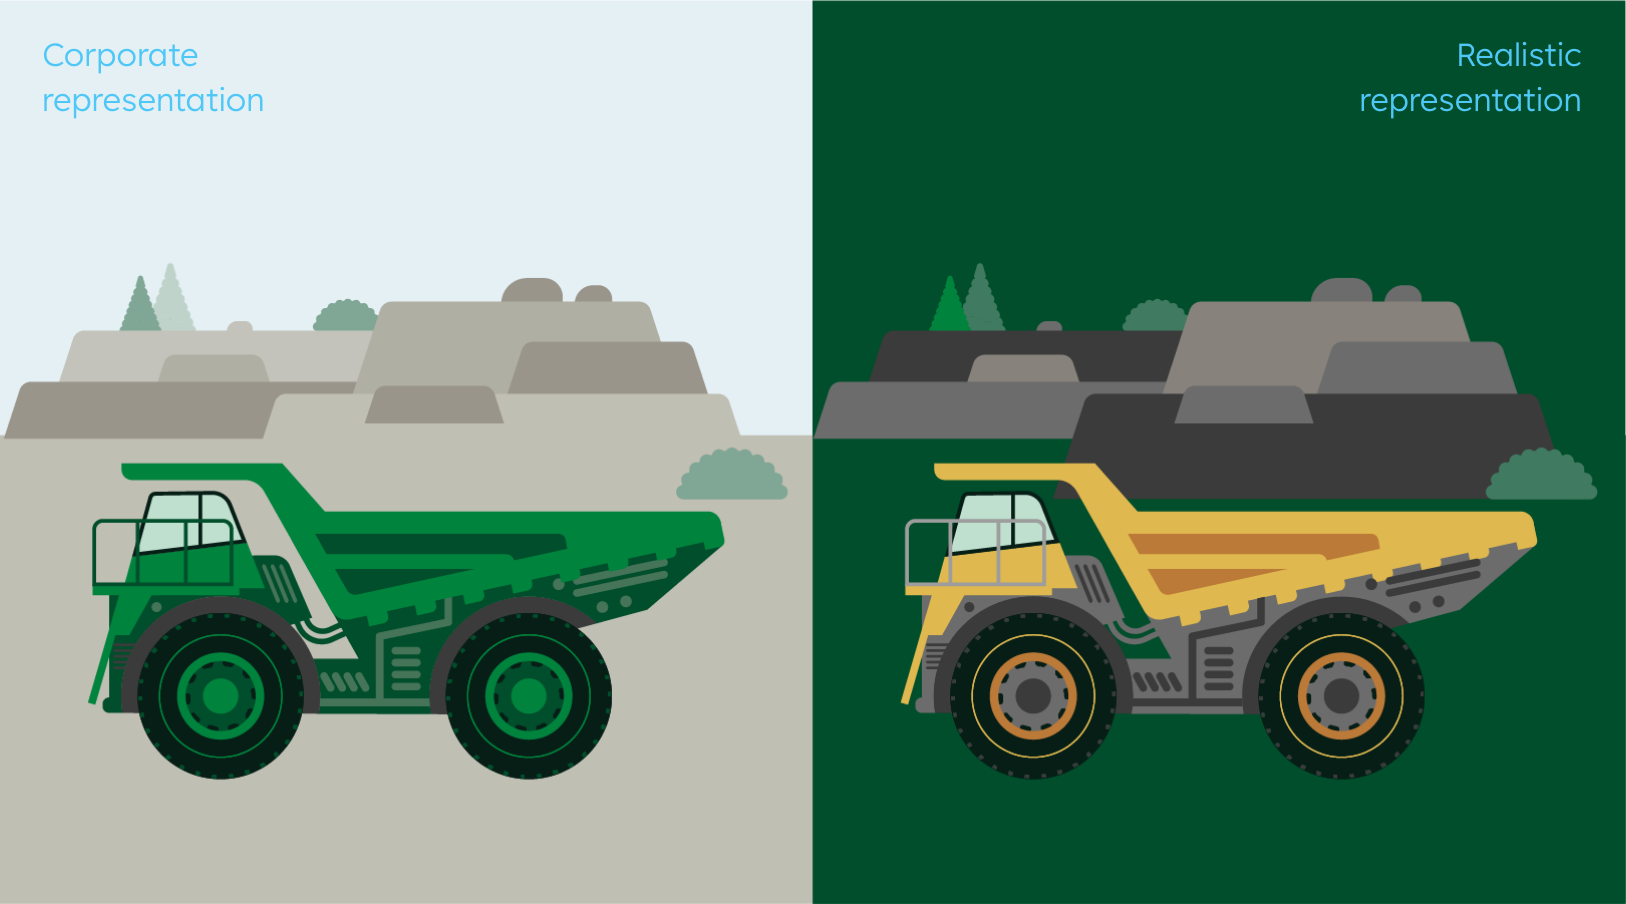

For safety instructions, it is essential to show the correct colours and details. In these cases we use realistic colours, but only for internal touch points. Where possible, we use Deep Green as a background colour to add to the corporate feel.
Light and dark backgrounds
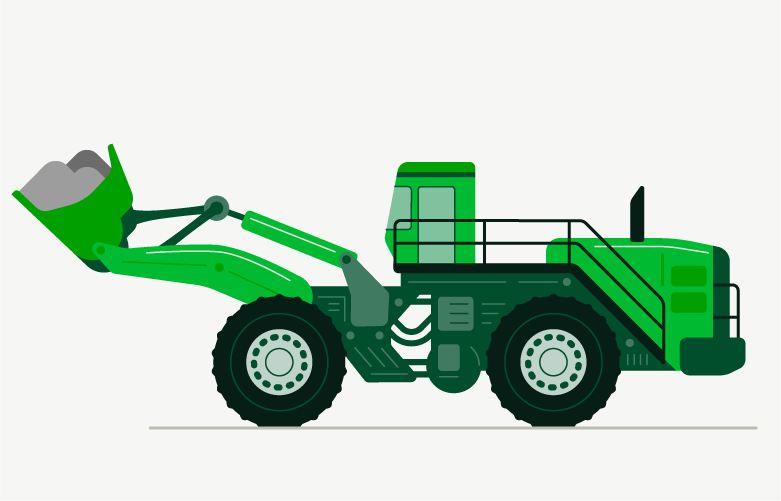
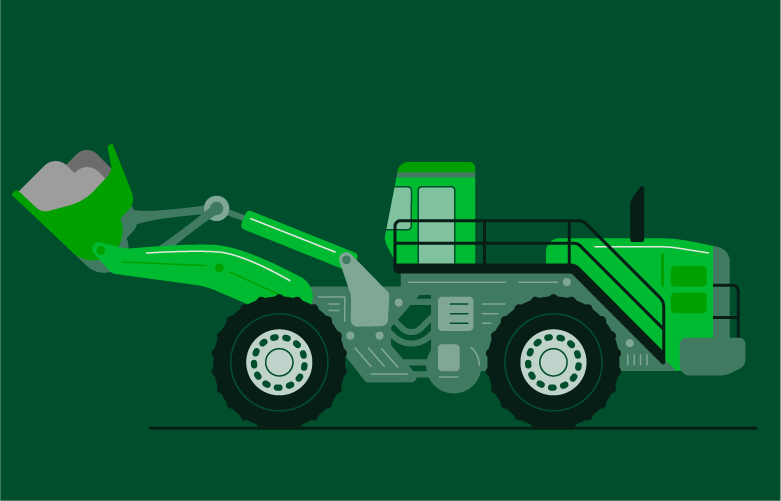
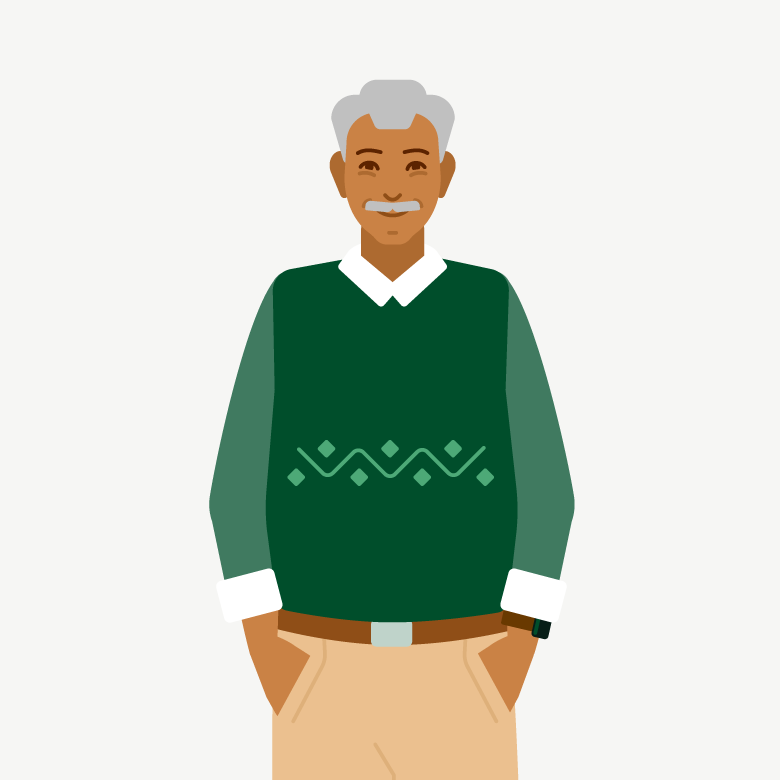
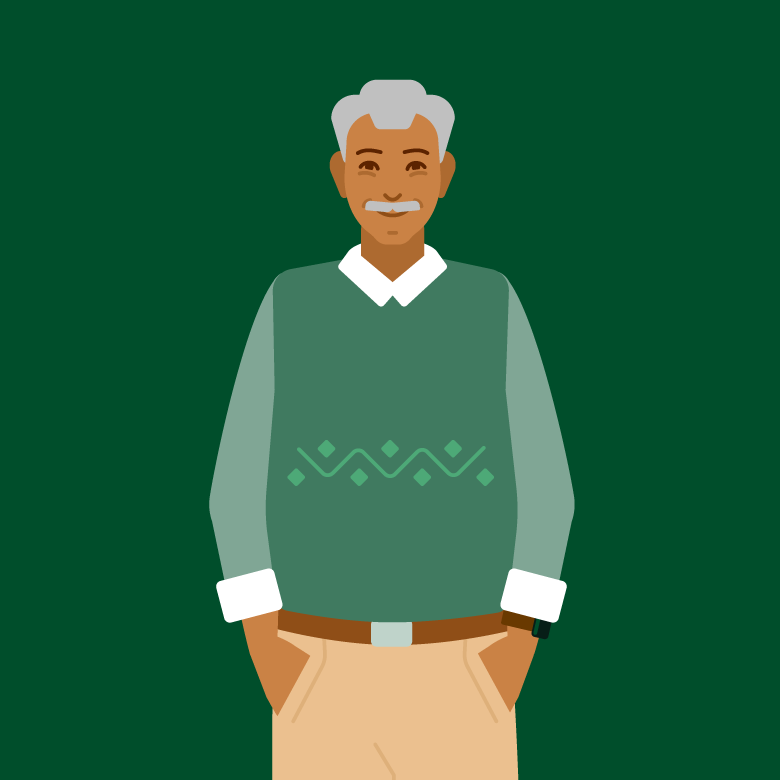
Our illustrations can be used on light or dark backgrounds. Objects and scenes must be recoloured to provide sufficient contrast.




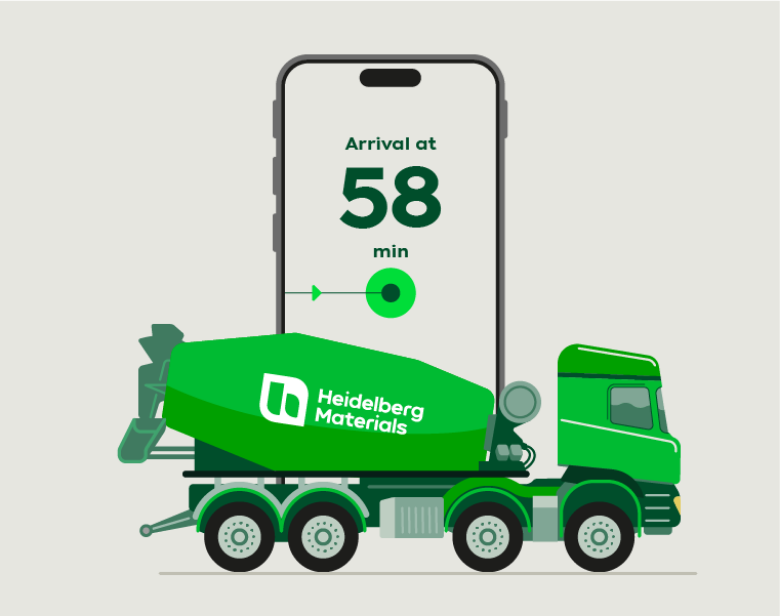
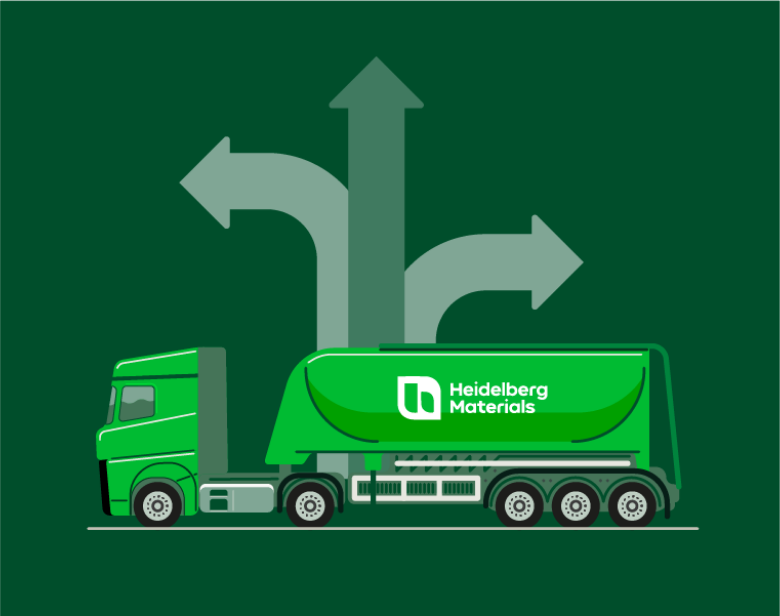
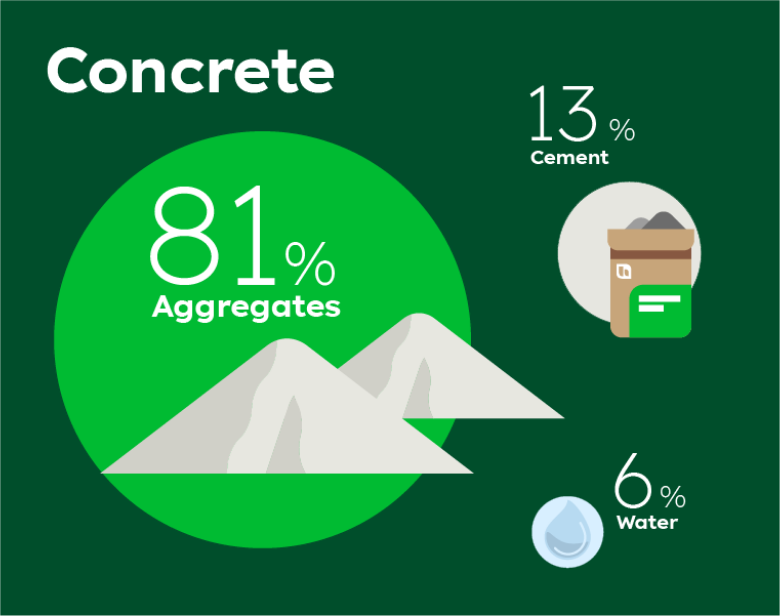
Illustrations in infographics
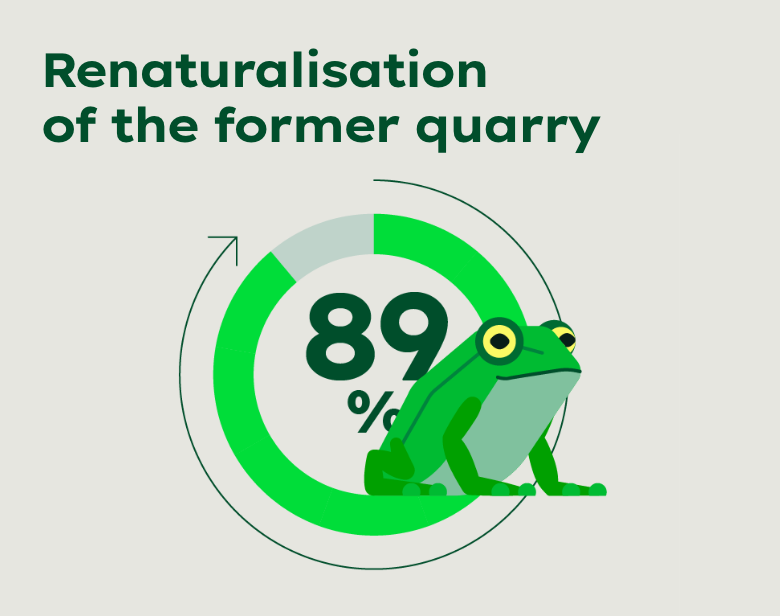
Infographics can be livened up and made more emotional with illustrations. For complex process diagrams, consider whether to use illustrations or icons.




Editing & creating new illustrations
Editing illustrations
The Illustrator master files provided can serve as a basis for your own interpretations. For example, they allow for colour adjustments and the removal of details.
The master files of our characters offer extended options for customization. Facial expression, hairstyle, hair and skin tones can be adjusted. Facial expressions are available on a separate layer in the master files and can be shown or hidden. You can even swap entire heads, e.g. to turn a female worker into a male worker. The body posture can also be adjusted to a certain extent; arms and legs are created as an editable path on a separate layer.
All adjustments must take into account the illustration colour palette and the general look and feel.
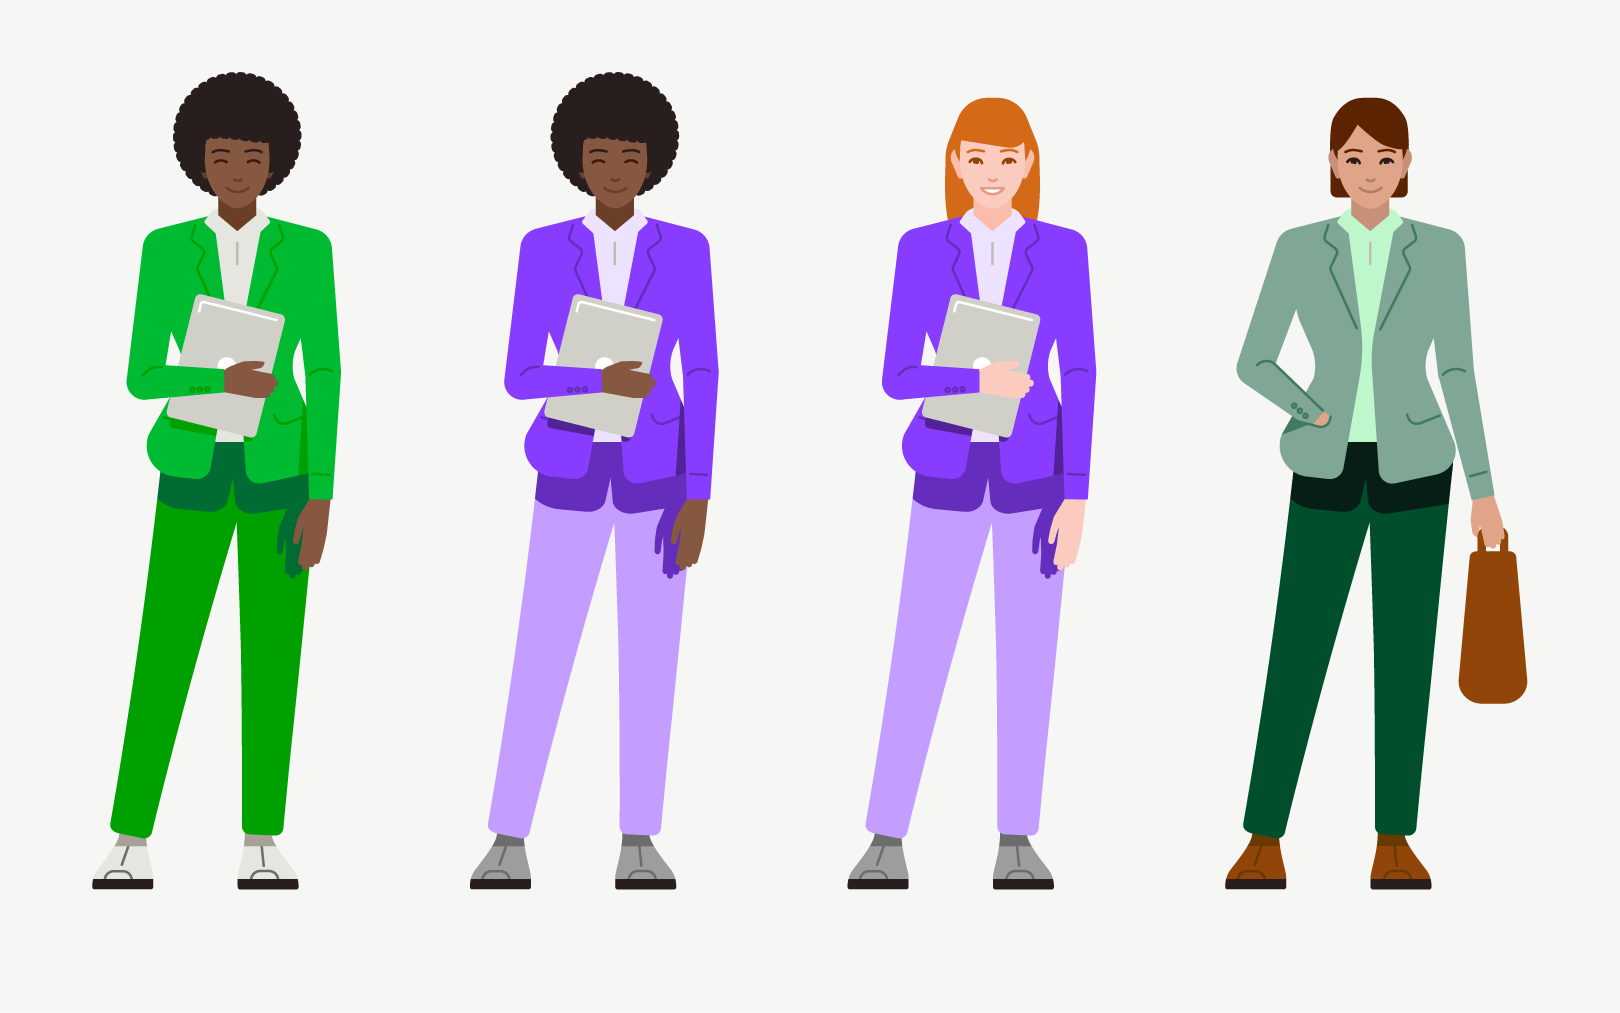

Existing characters can be changed to create new ones. The clothing, faces and hair as well as the poses can be varied.
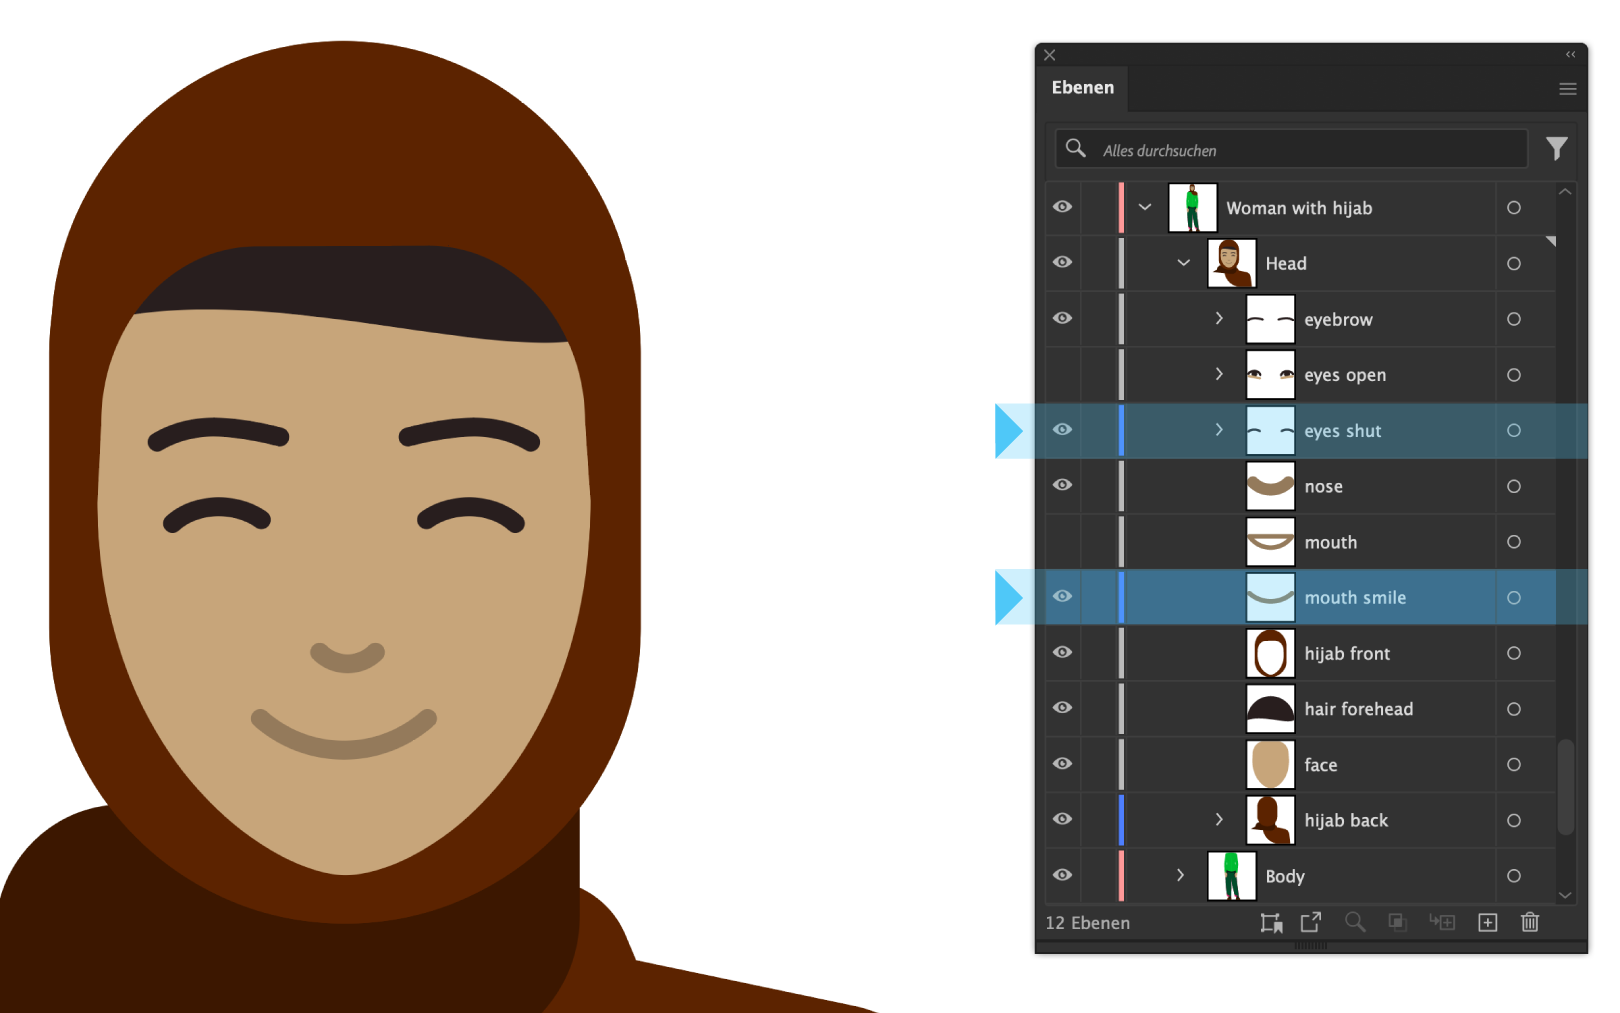

Both options for eyes and mouth are created in the open data of all the characters and can be selected via the layer visibility.
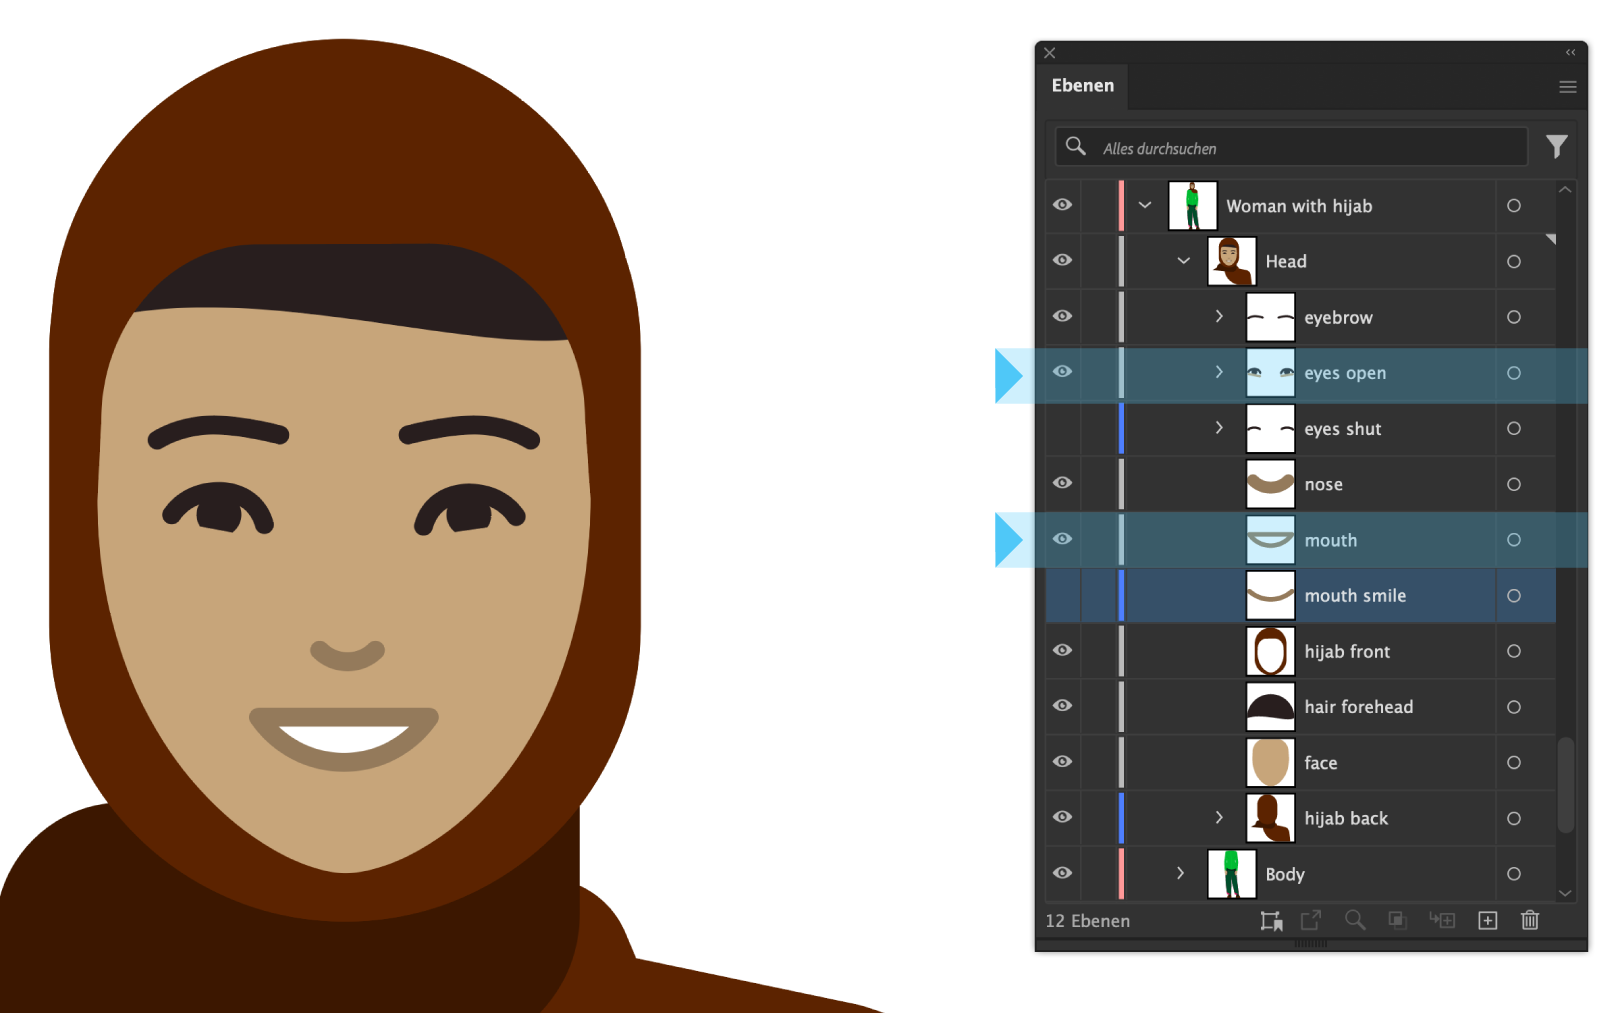

This option of eyes and mouth is only available in the open data of Adobe Illustrator.
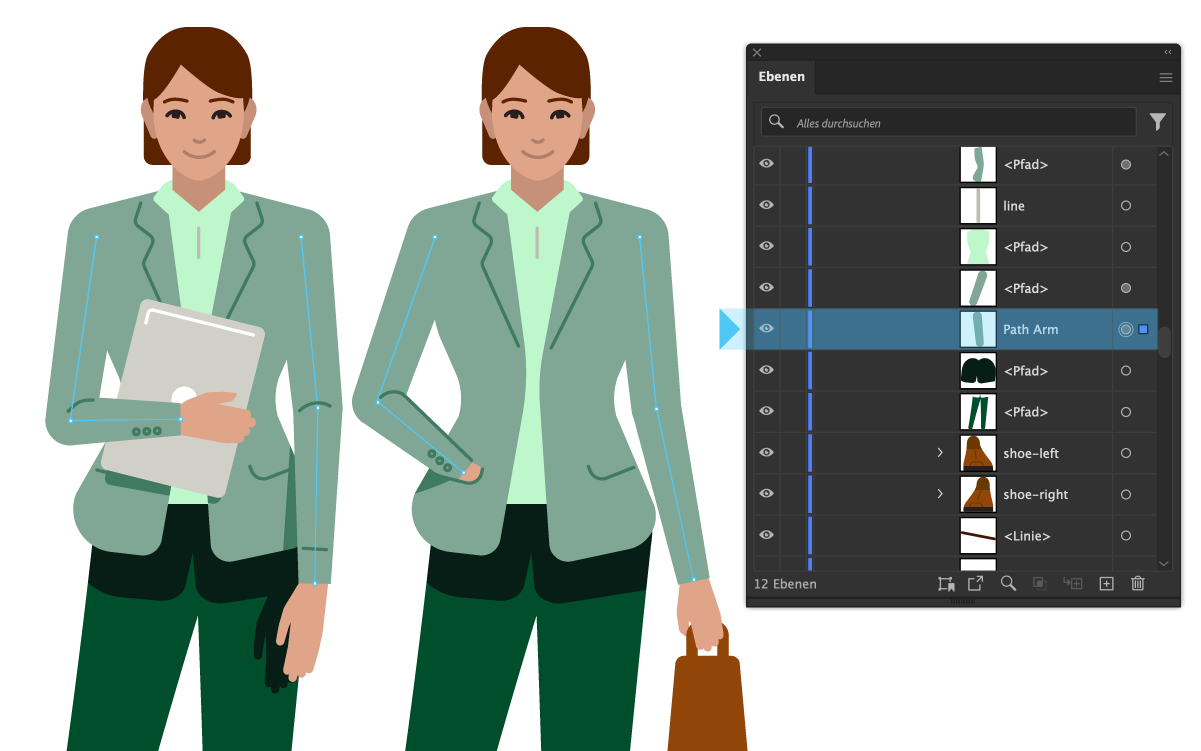

The characters are designed with arms and legs in layers, both as paths and shapes. This makes it easy to create new poses.
The pool of illustrations should continue to grow and all illustrations should be available worldwide. Each location should be able to create illustrations and portray regional or national characteristics. In order to ensure both the corporate style and the compatibility of the illustrations, a number of basic principles must be followed, including technical and design requirements and the approval.
Formats and sizes
All illustrations are created so that they are proportionate in size to each other and have a comparable level of detail when displayed at 100%. As the illustrations are vector-based, they can be scaled up and down without loss of quality. PNG files are used for provision in the image library.
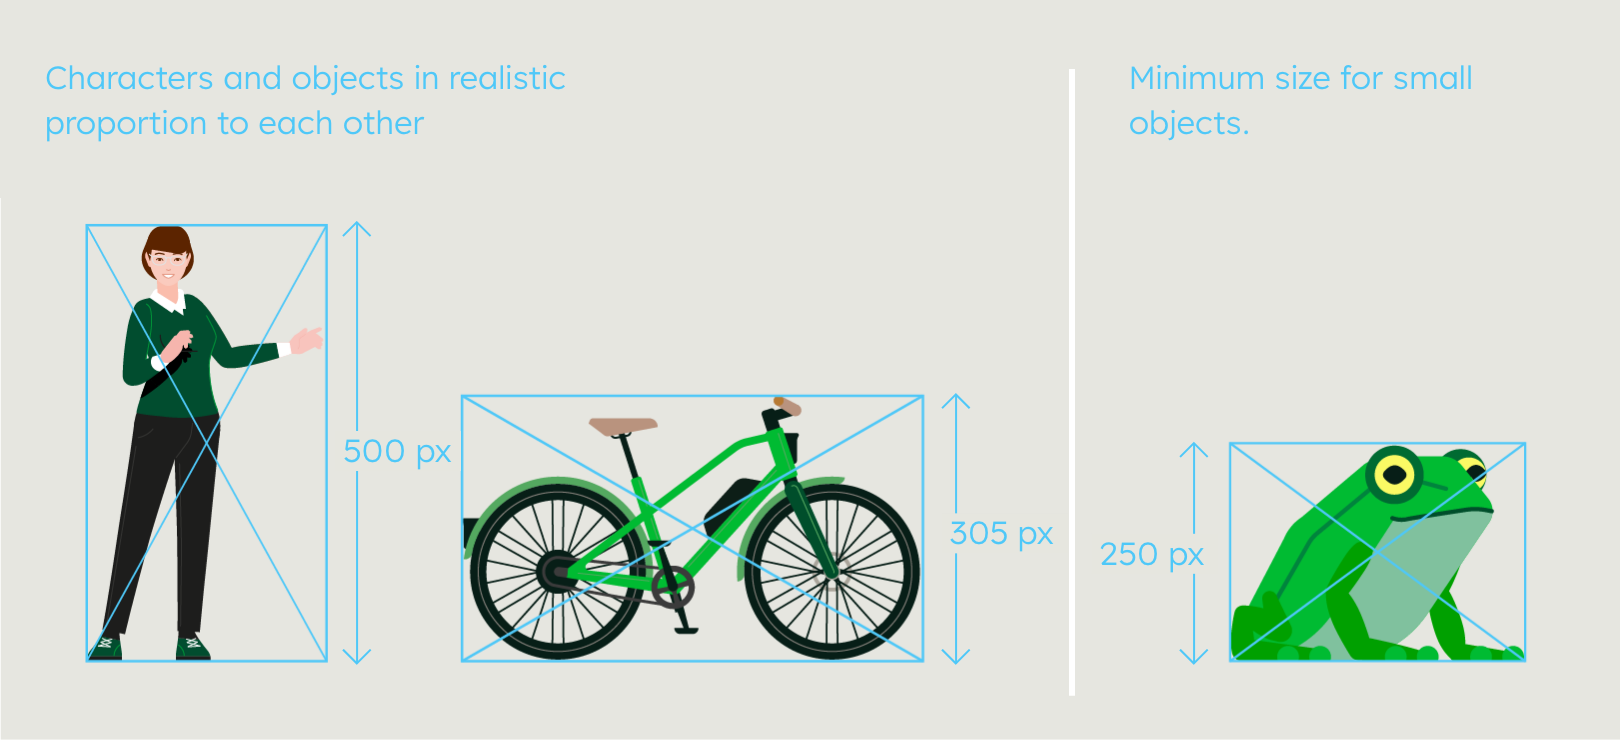

Objects should be created in a realistic size in relation to other comparable objects. Humans are designed with a height of 500 pixels at 100%. The smallest defined stroke width is 1.5 pt. Exception: small objects, such as the frog, are designed with a minimum height of 250 pixels. To create new illustrations, the existing illustration files can be used. Choose one that is thematically relevant to the new design and adjust the size of the motif to match the reference objects.
Illustration check list
- Does the content match the communication objective?
- Does the style meet the formal criteria? Take care of thin strokes, and small details.
- Does the illustration make mainly a green colour impression?
- Are inspiring colours just used as an accent?
- Is the illustration created in the correct file size?
- For scenes only: Are the background and foreground clearly distinguishable?
Illustration files
All illustrations are available for both print and digital applications and must therefore be created in RGB and CMYK file formats.
RGB: PNG, PDF
CMYK: PDF
Dos and don’ts
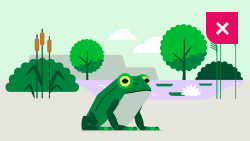

Don’t use unrealistic colours to represent nature. Show an intact, clean environment.
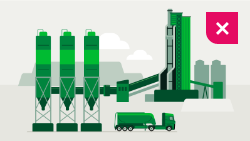

Don’t make the sky grey in outdoor scenes. Always use Sky Blue at the top.
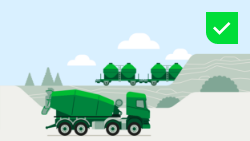

Create the right colour impression. Balance corporate colours with reality.
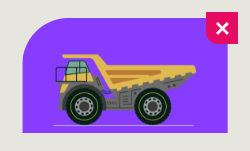

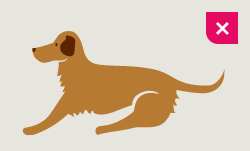

Don’t work in an organic illustration style. Only use geometric shapes.
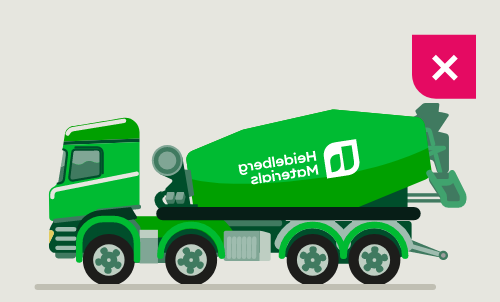

Don’t mirror objects with logos or text. Create a new version instead.
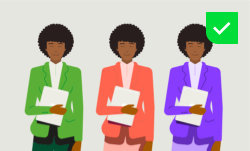

Change the colour of motifs and characters as required.
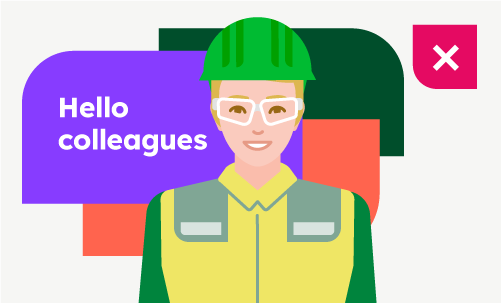

Don't design layouts with too many colours.


Set the Layout for the illustration with one inspiring colour.
Supply and availability
Illustration library
Our library is constantly updated and contains ready-to-use illustrations on a wide range of topics. The modular system allows for the creation of custom scenes and compositions. For more information, please refer to „Application of the Illustration Library“. The illustrations are available as vector graphics, which can be edited and adapted using the appropriate software.
There are two ways to use the library, online in the browser or in your Adobe applications.
For users who do not have Adobe software available, we recommend downloading PNG files for use in other software, e.g. PowerPoint.
Downloads
Important Note Regarding Login
Due to the transition to our new website, all users must
set a new password the first time they log in.
To do so, please use the “Forgot Password” feature and
follow the instructions.
Thank you for your understanding.
Any questions about our guidelines? Contact us.
- N Support
- T + 49 211 690787-200
- E support@Brandhub.heidelbergmaterials.com